Let’s build a castle!
For this project, I took on the role of creative director and lead designer. I worked to design a medieval set for a week-long children’s summer program. The goal was to create an immersive experience for the children who would be attending during the week. The set also needed to meet the needs of the drama team that would be using the set to perform during the week.
It all began with a drawing.
I got started by drawing an idea of what the overall set could look like. I knew the set needed to include a castle, but the rest of the set was flexible. I also began to consider some of the restraints. For example, the projection screen needed to remain visible from multiple perspectives. As a result, the center wall would need to be 8 feet tall or lower. After meeting with the other members of the design team, we decided to go ahead with this general direction.
Once I had a good idea of the style, I began working on the to-scale drawing.
Next, I began to define the style of some of the buildings and elements of the set.
The big picture…
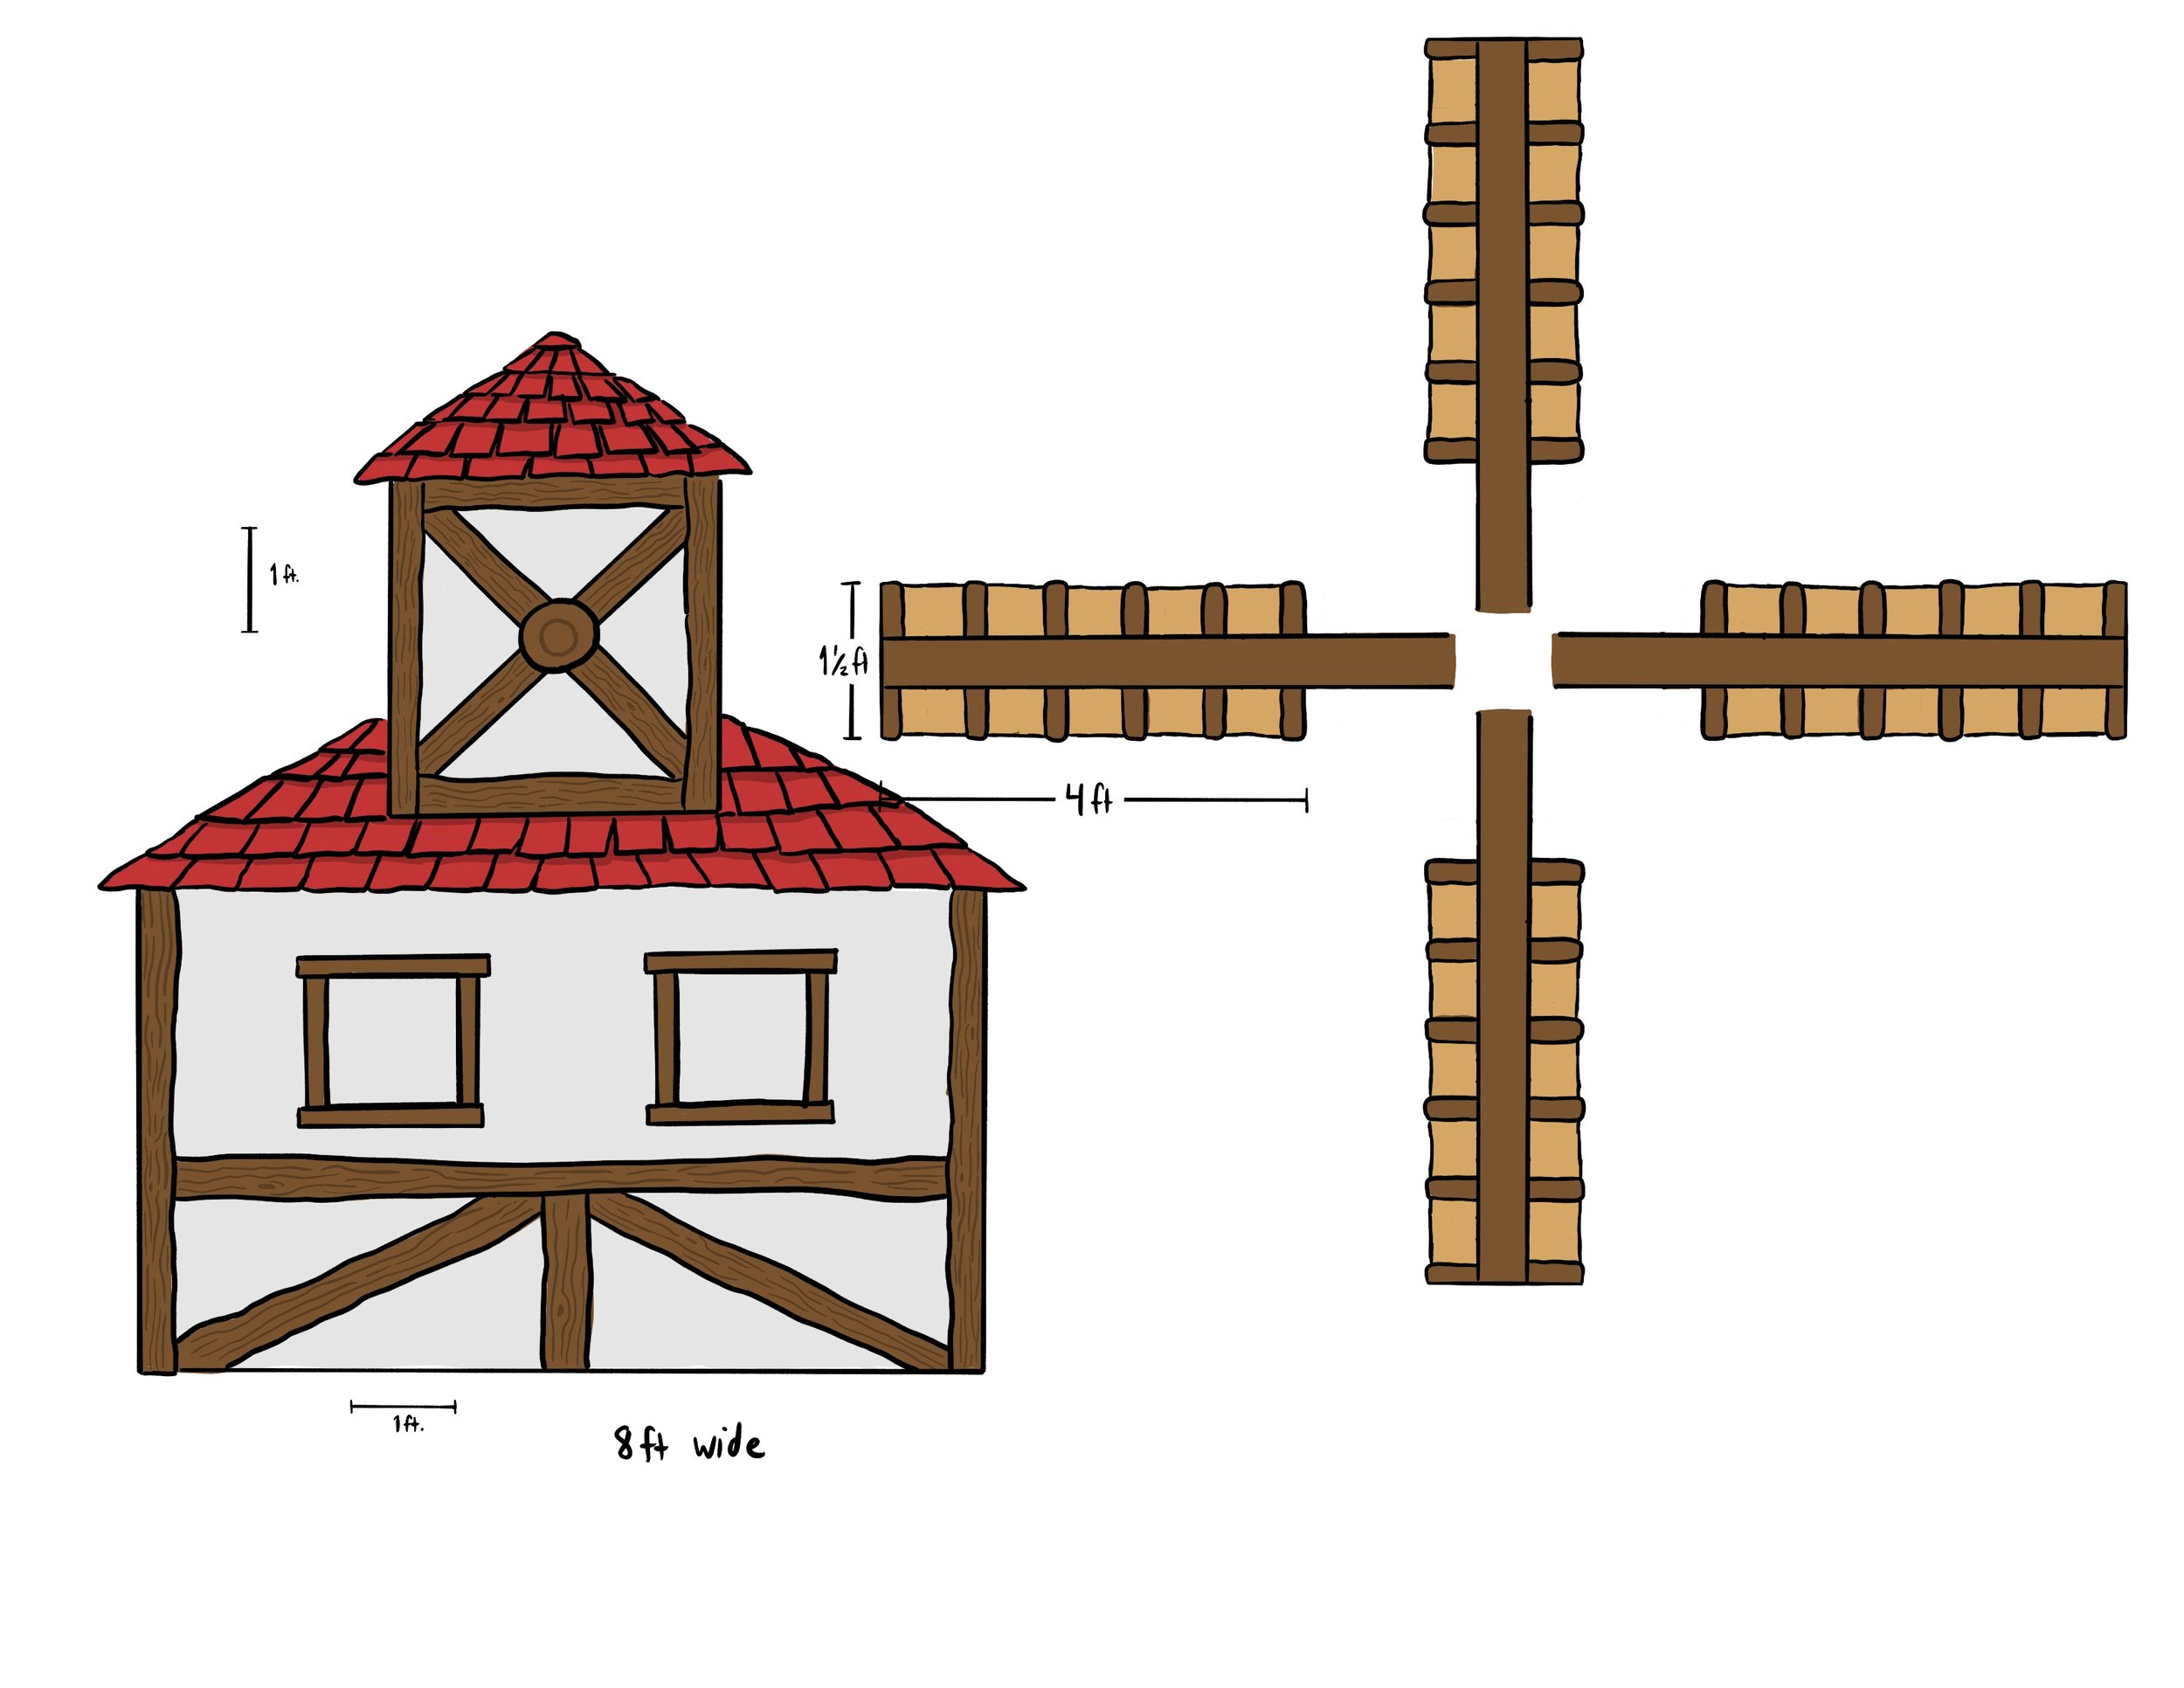
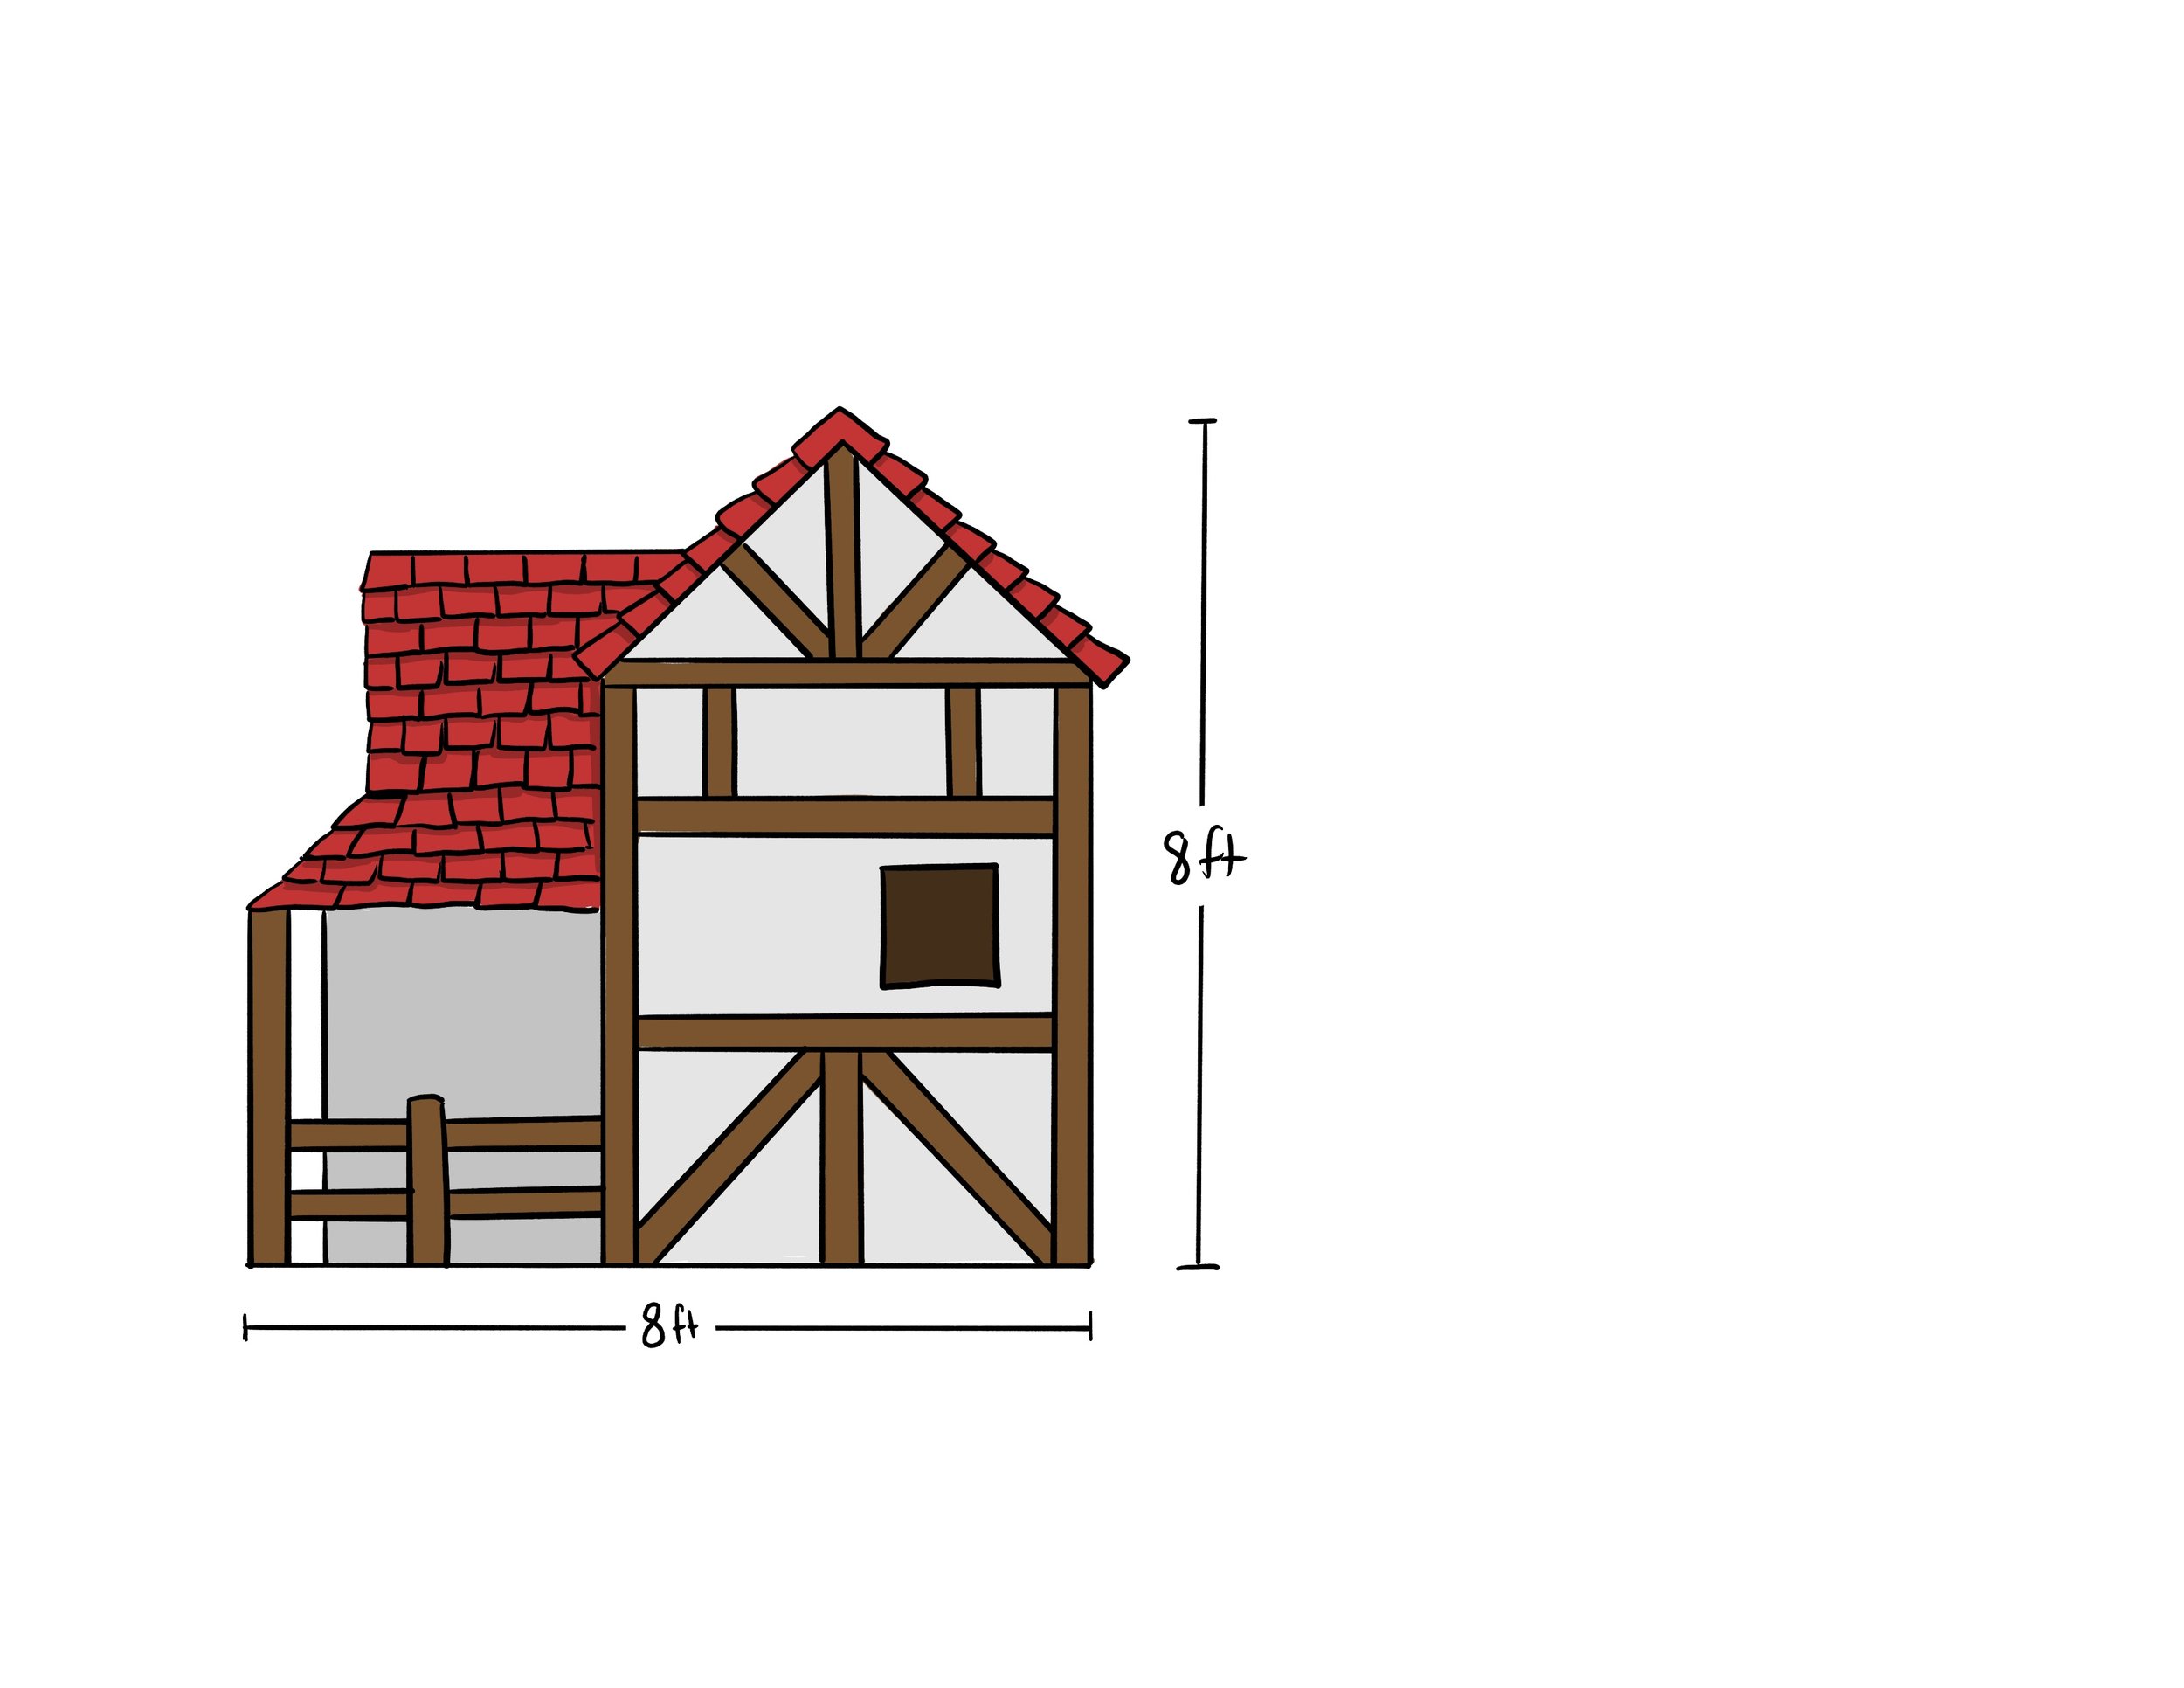
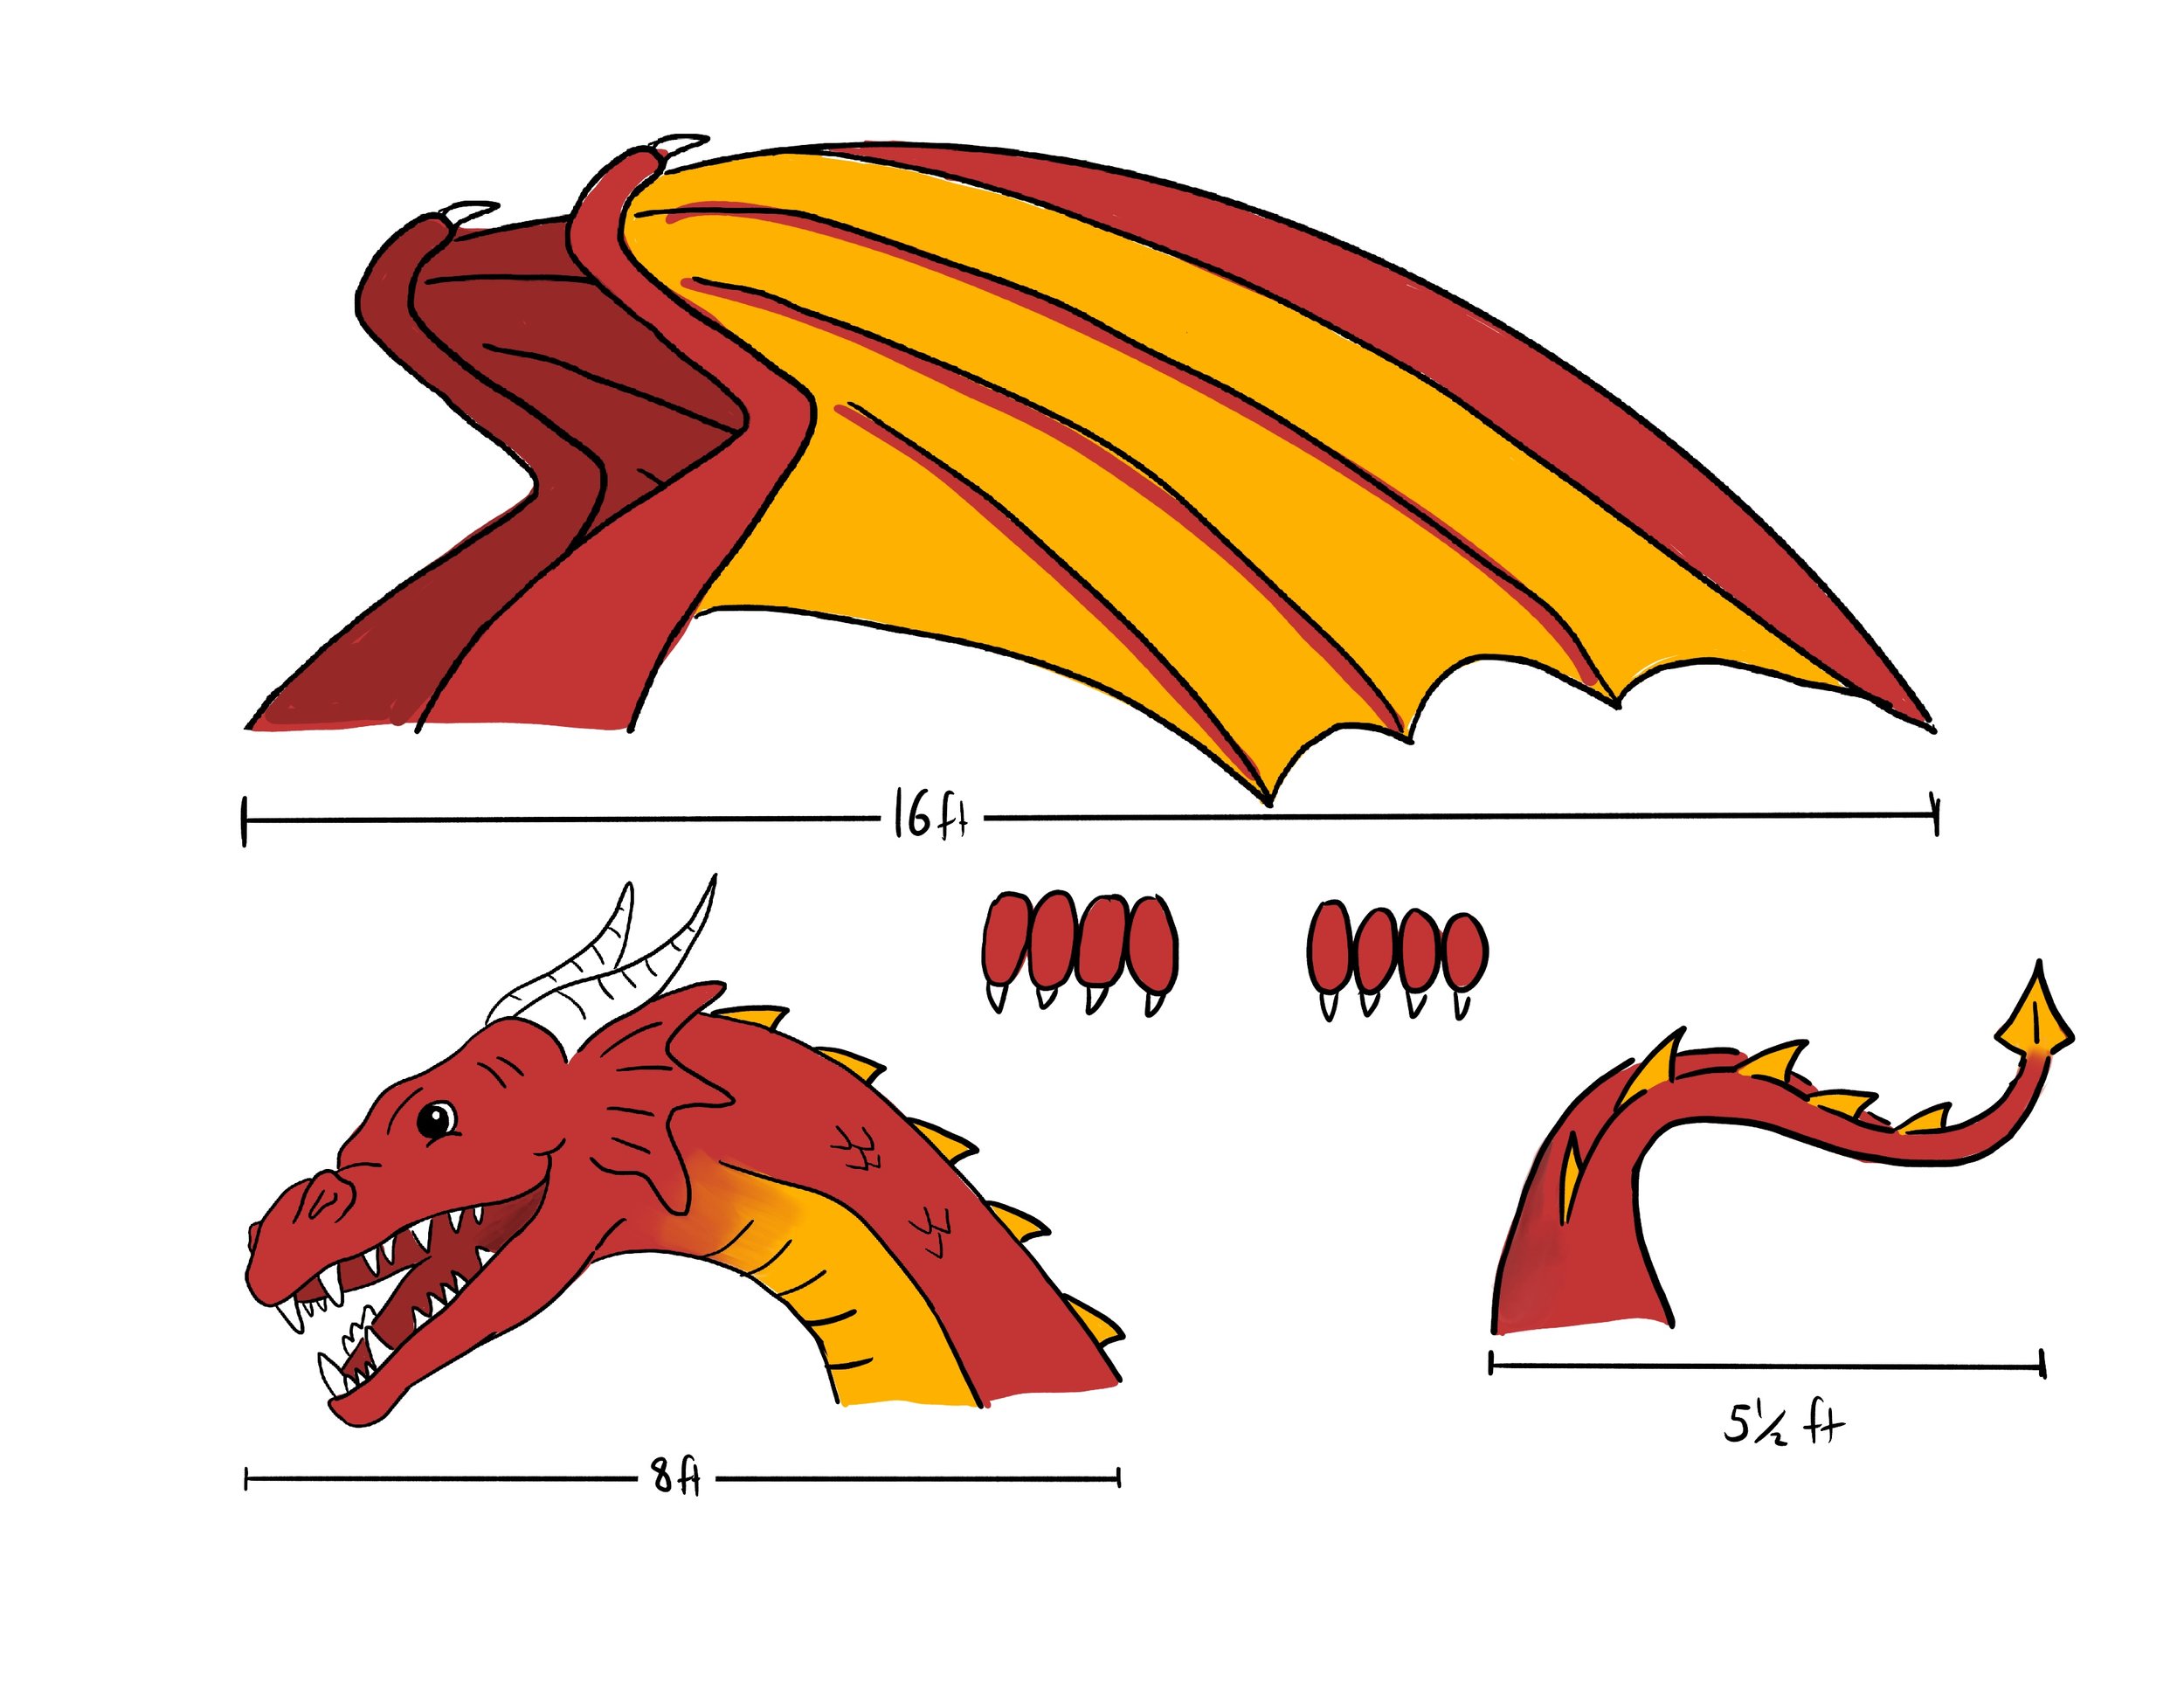
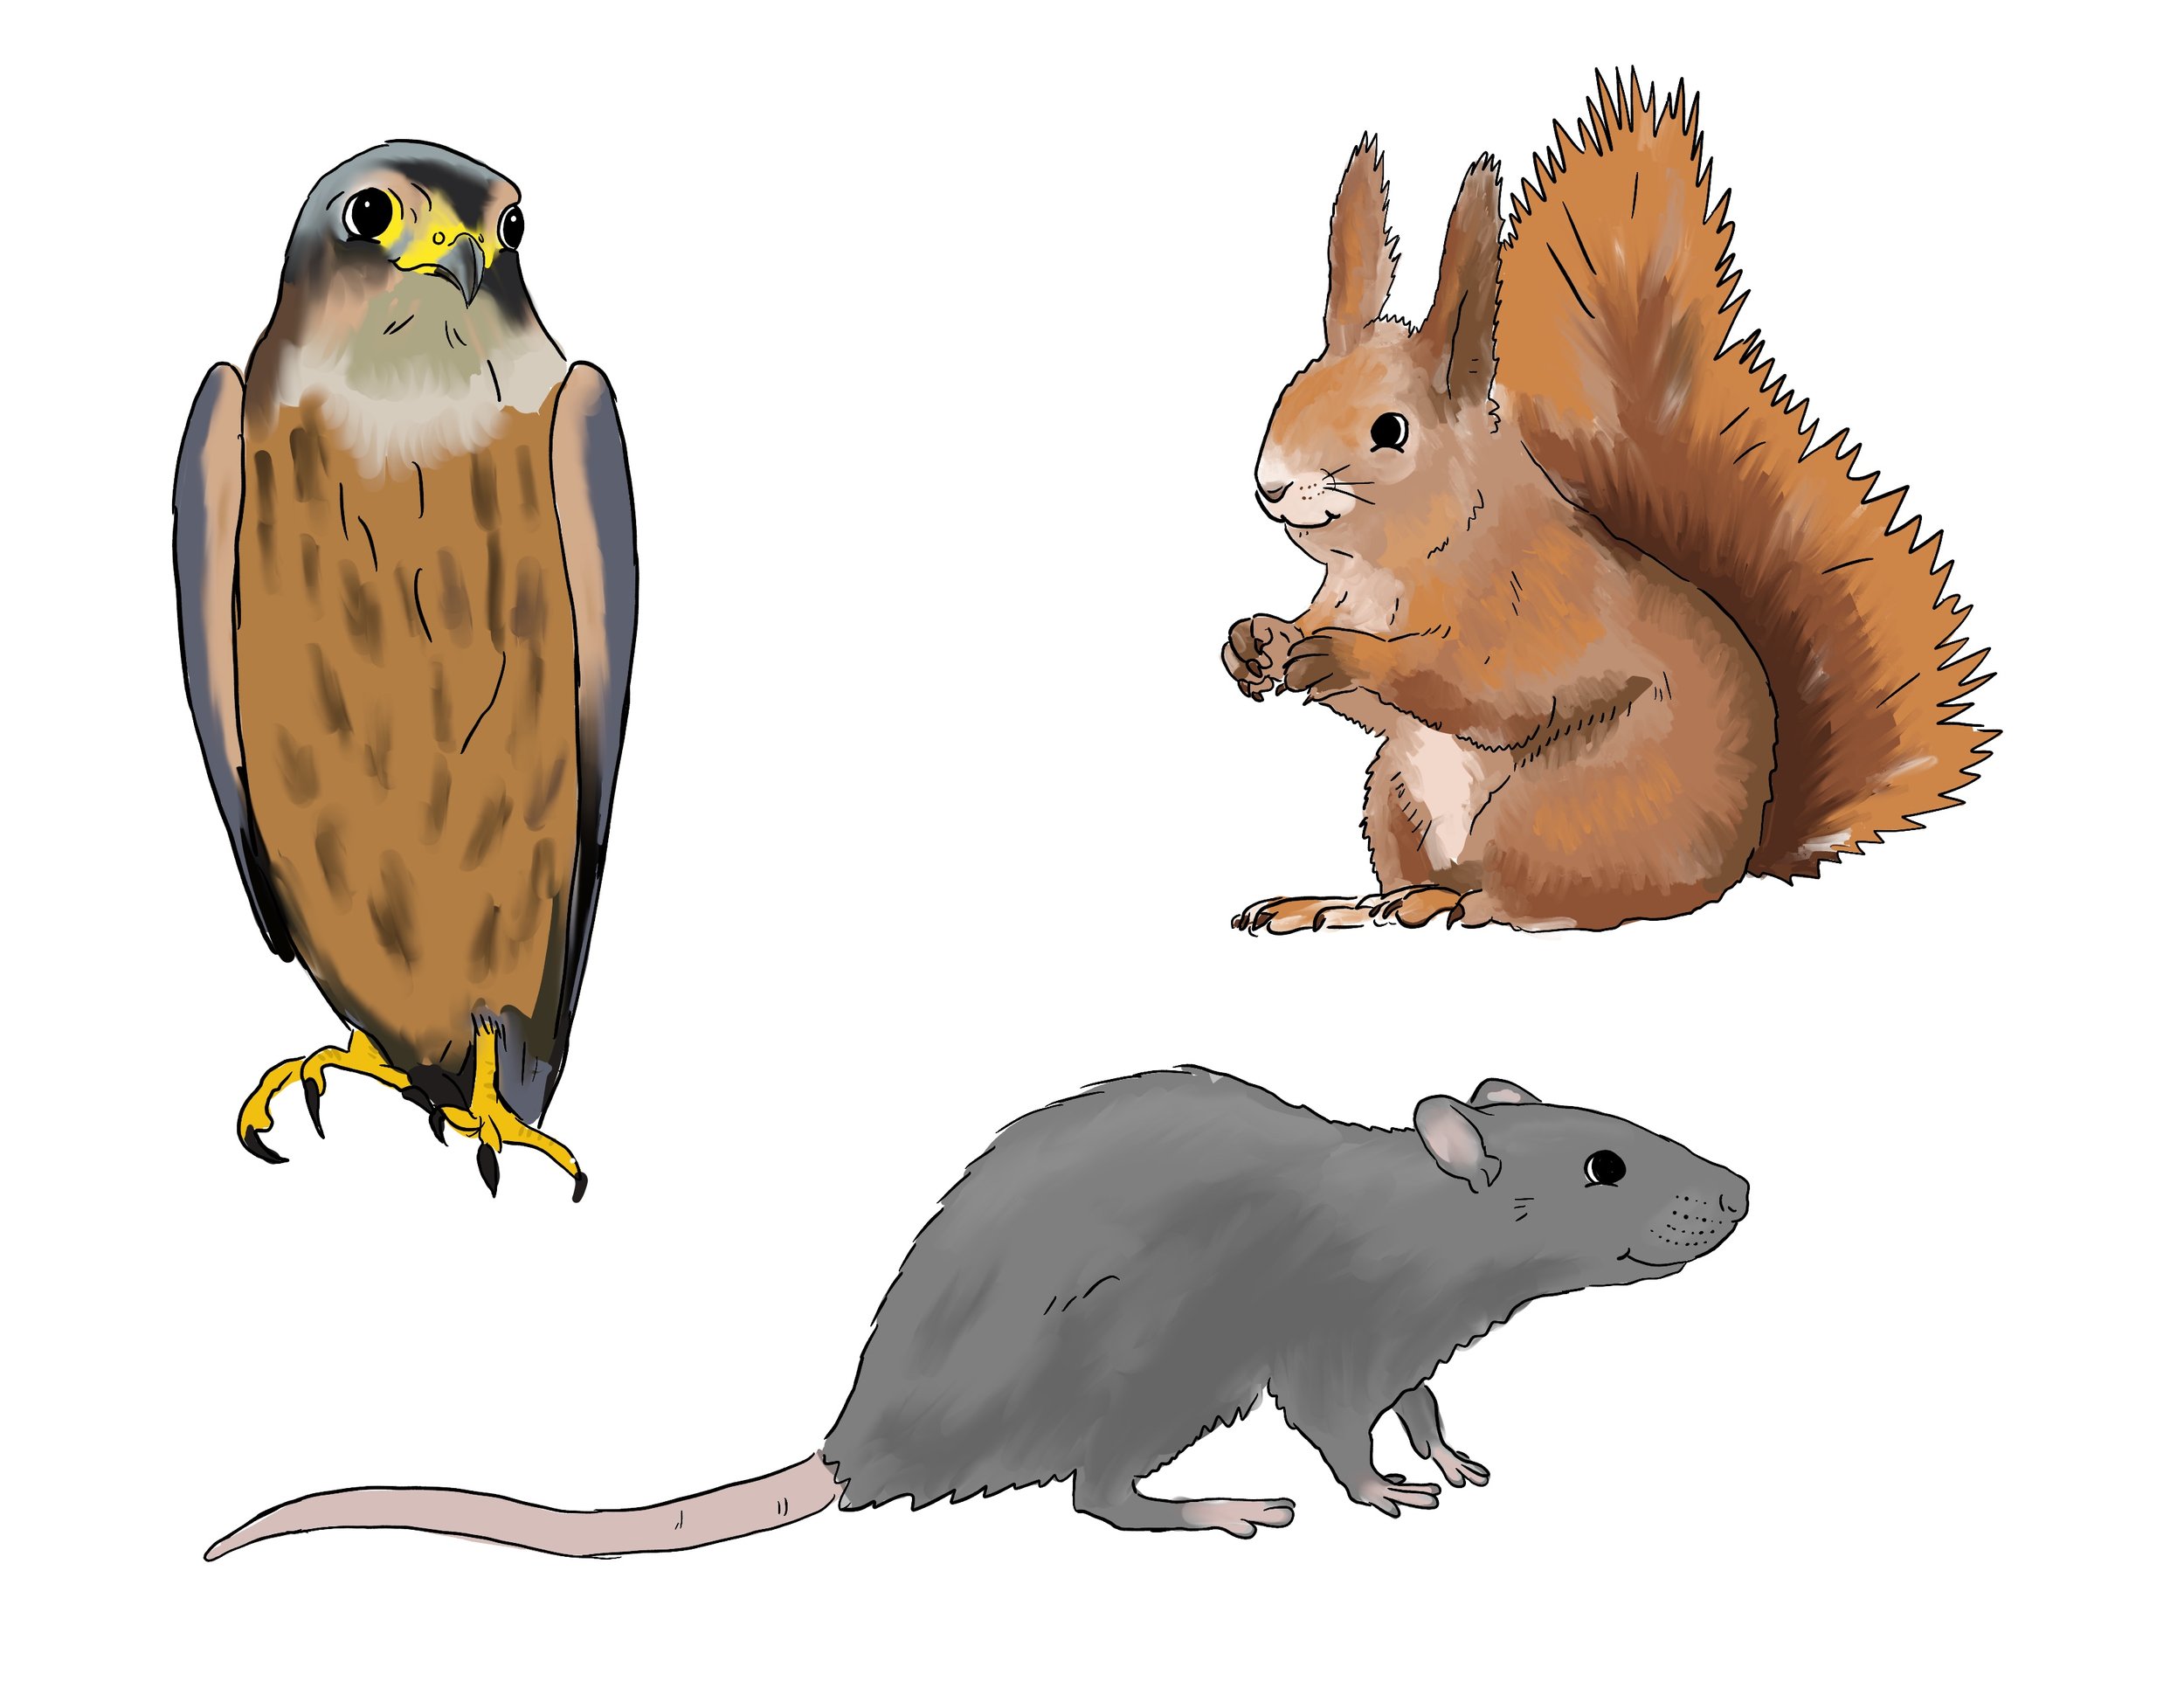
Next, I began working on illustrations of each individual set piece.

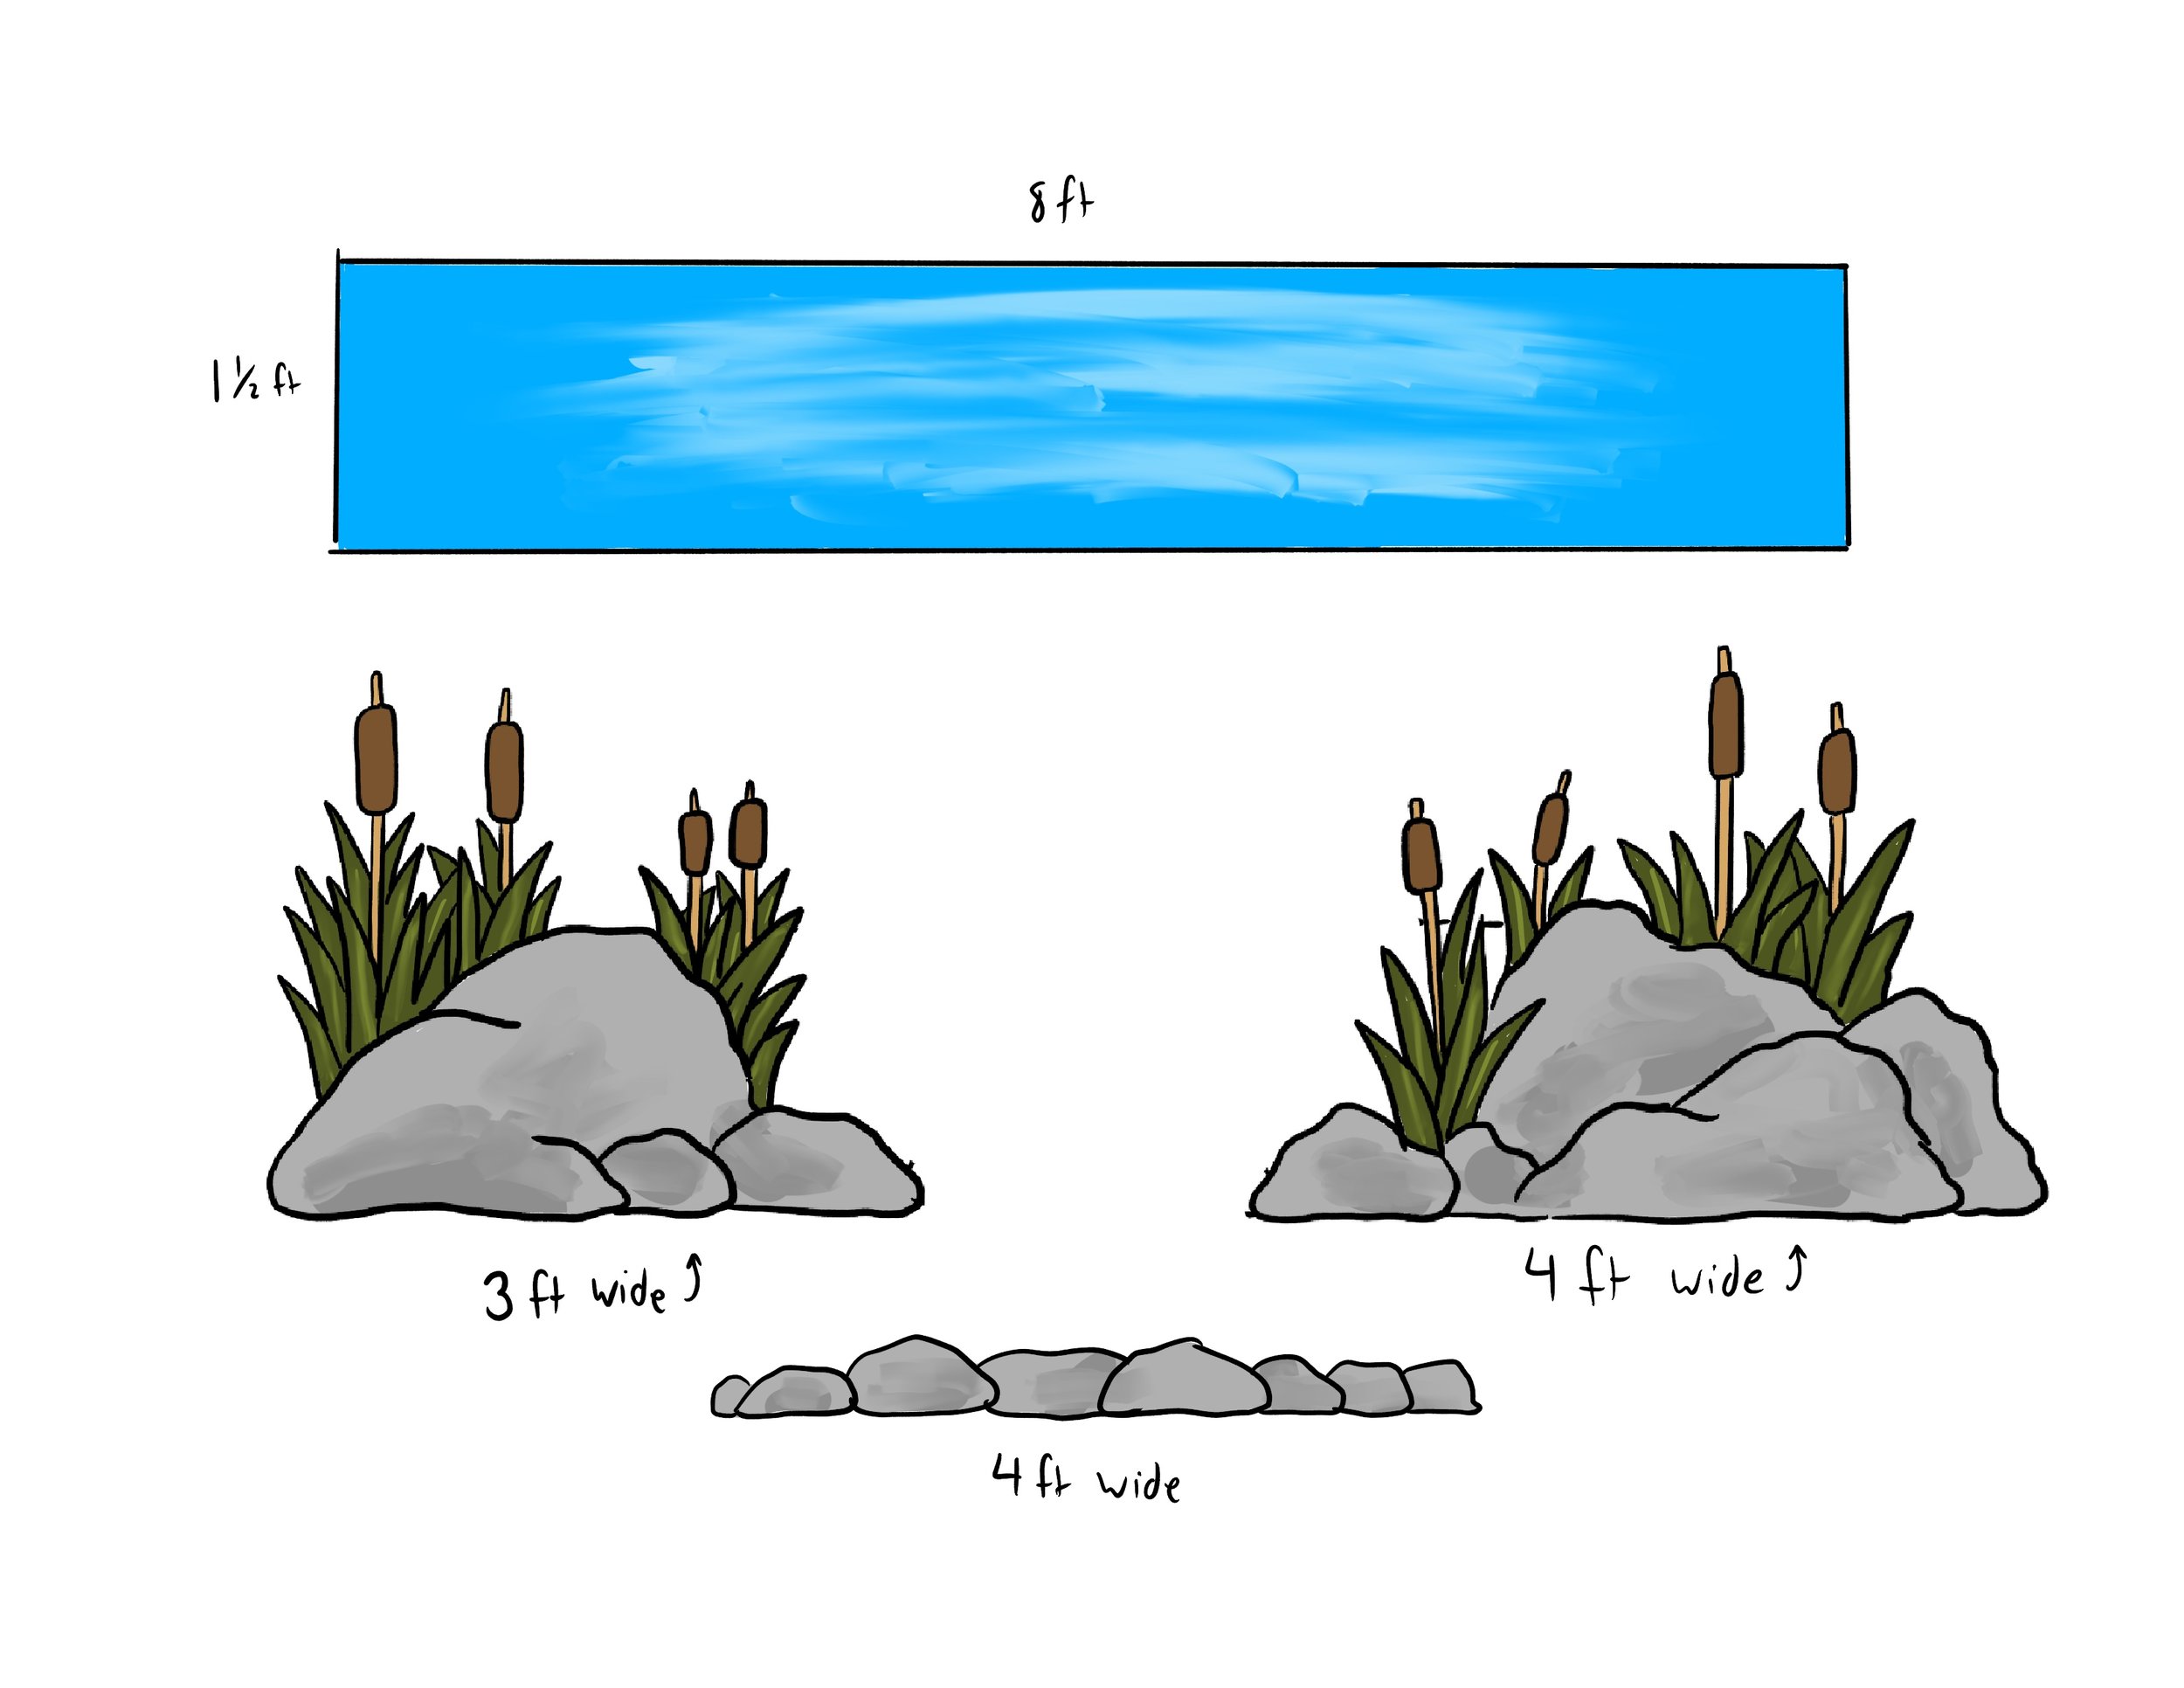
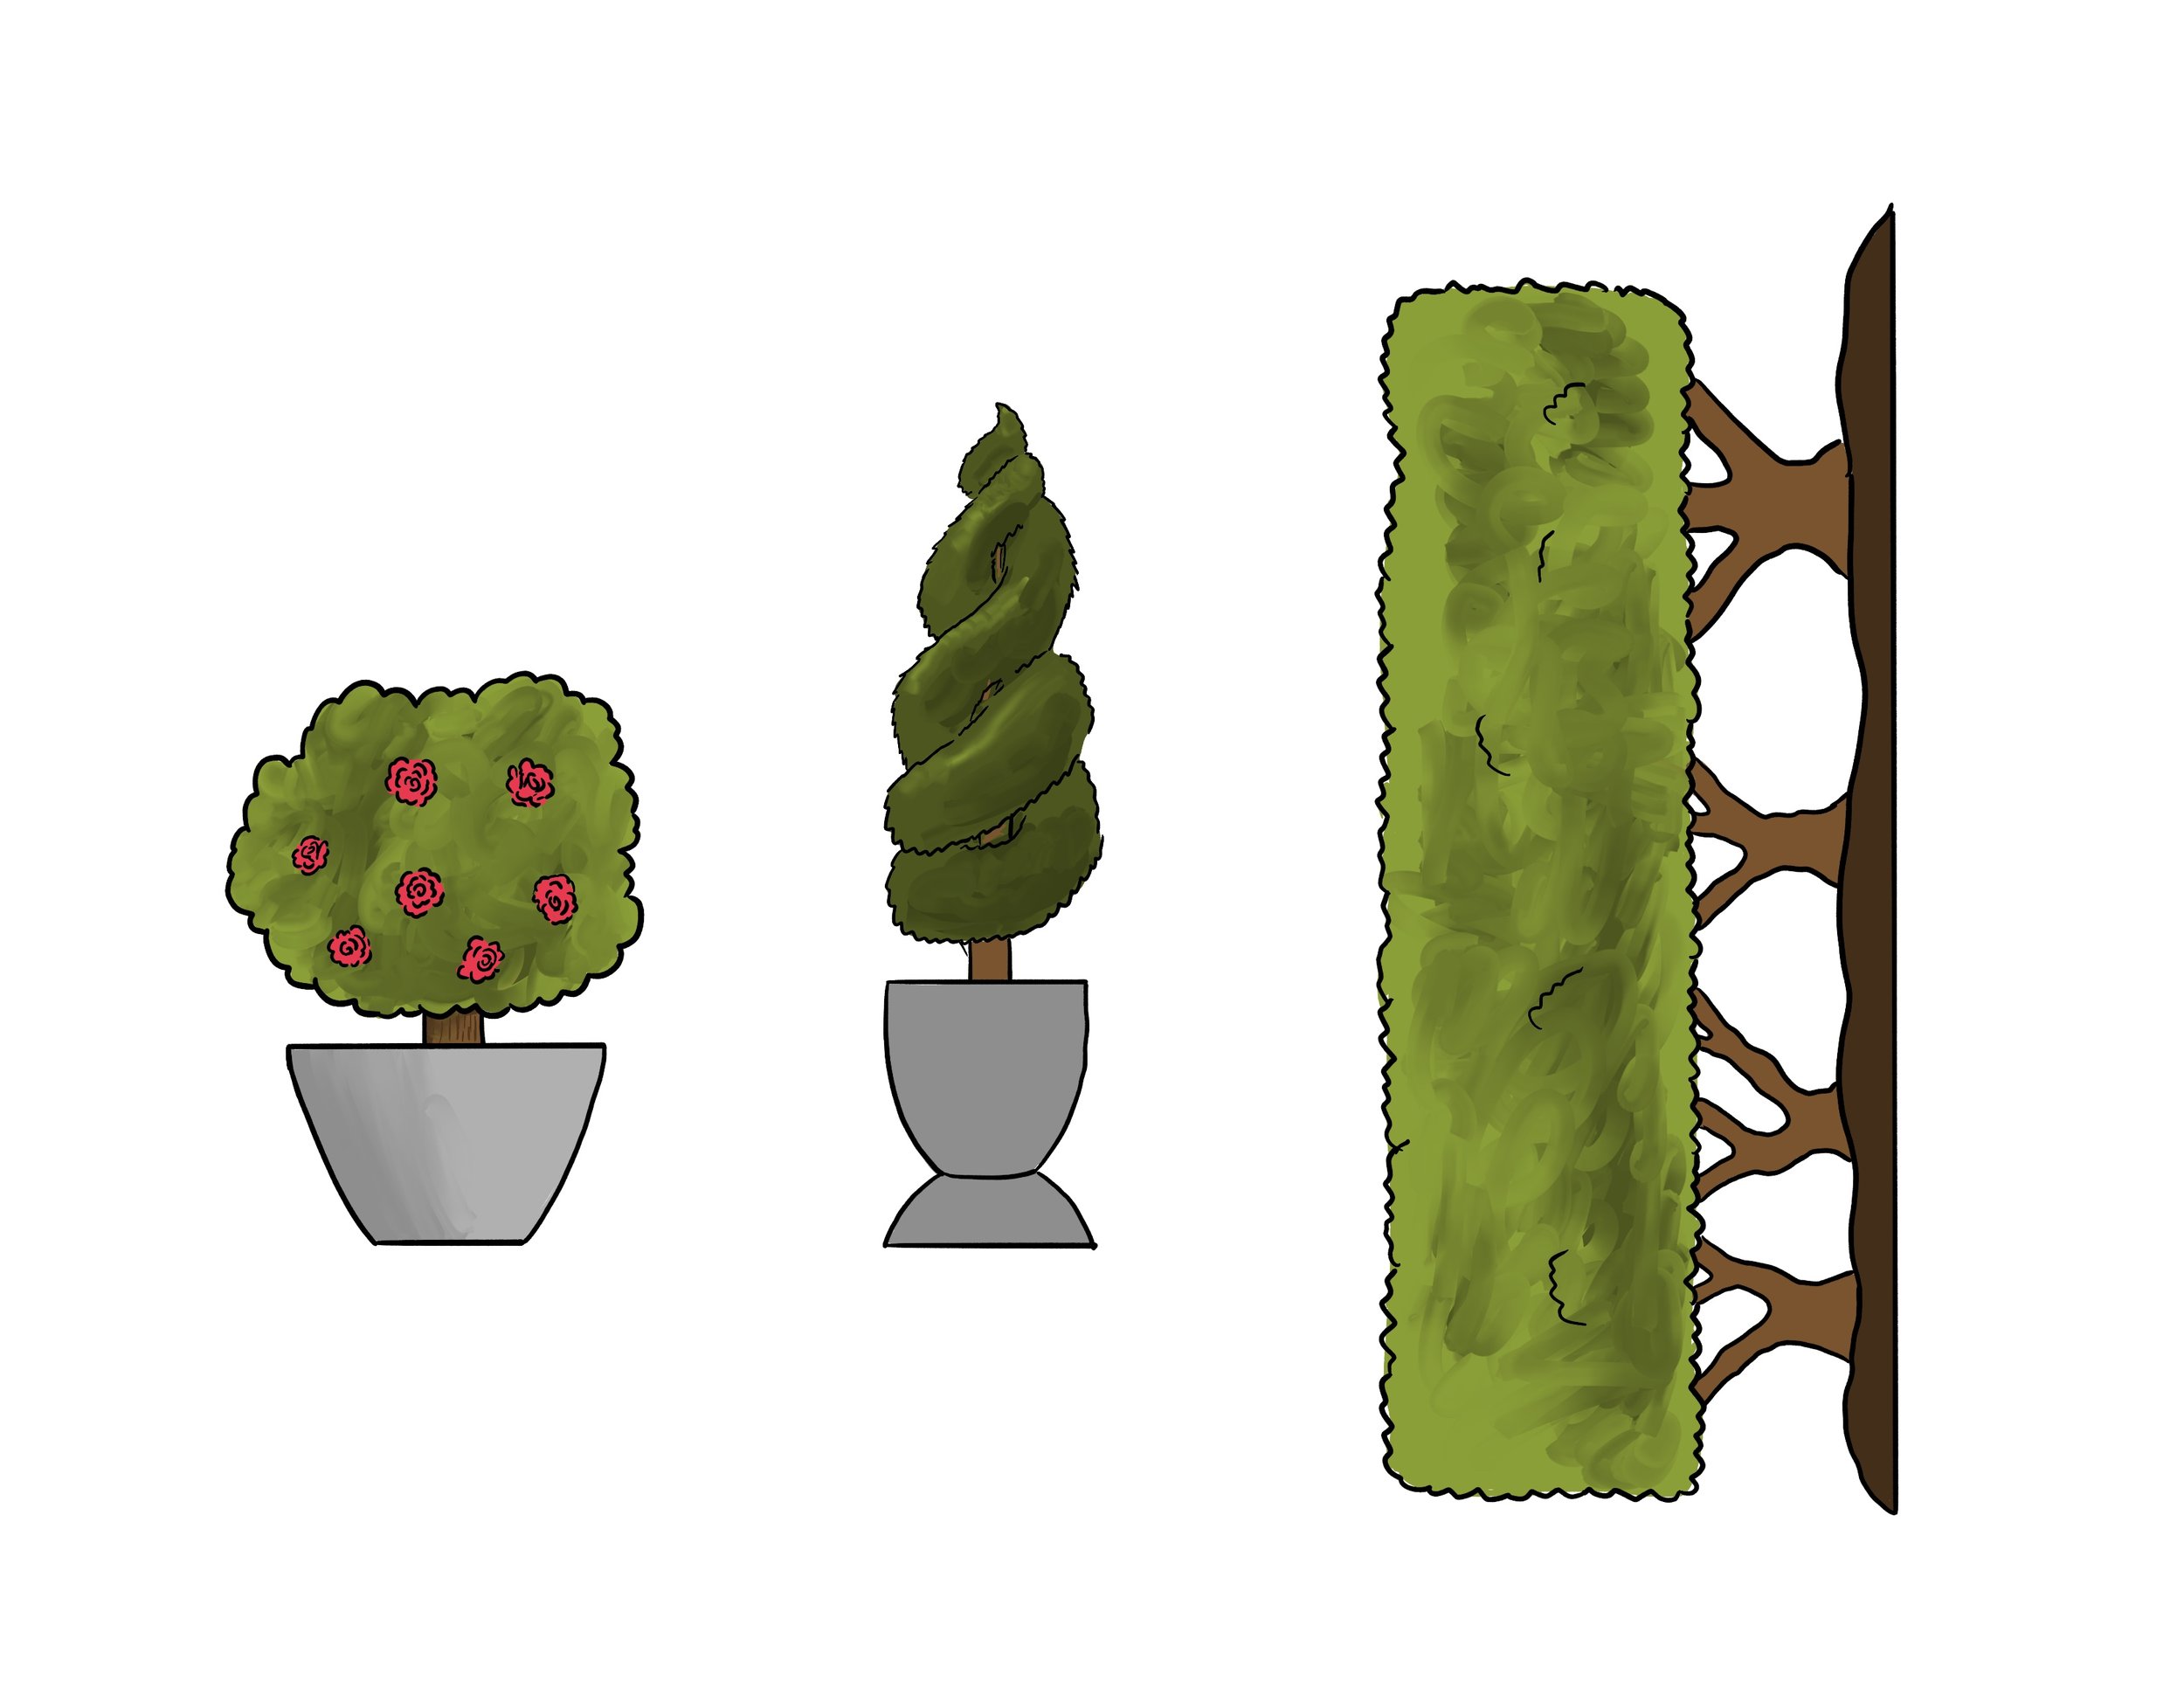

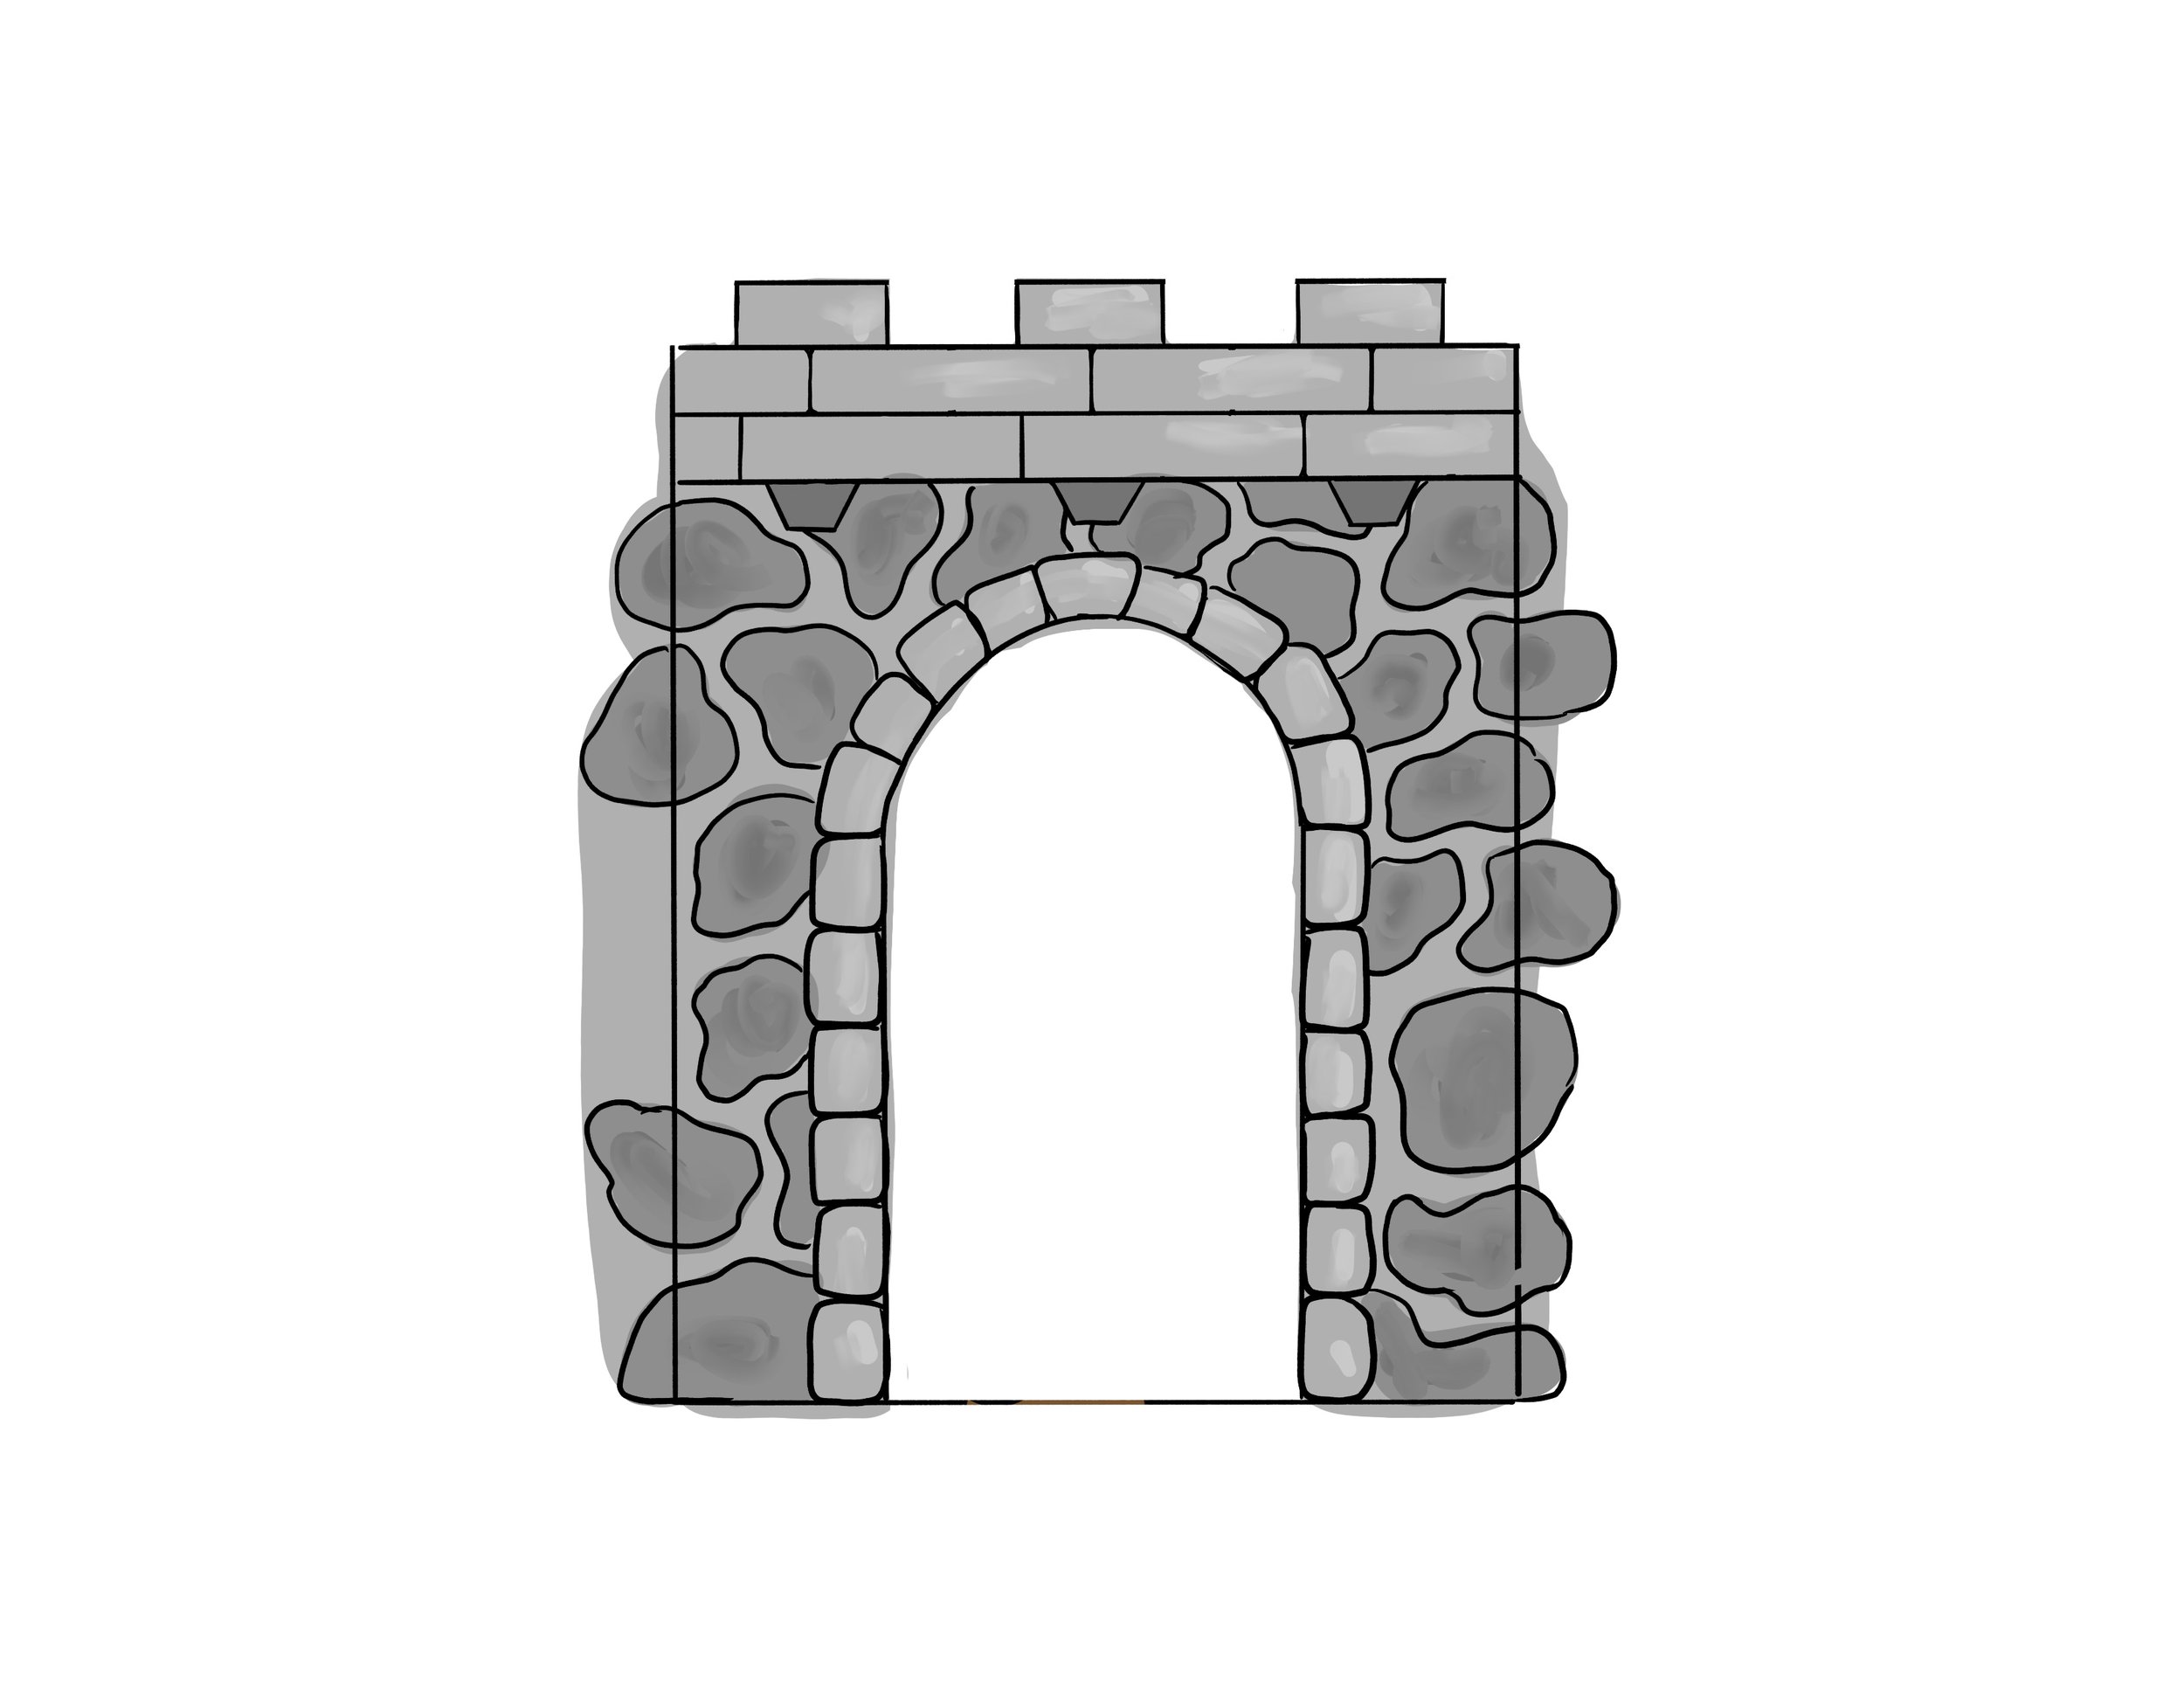


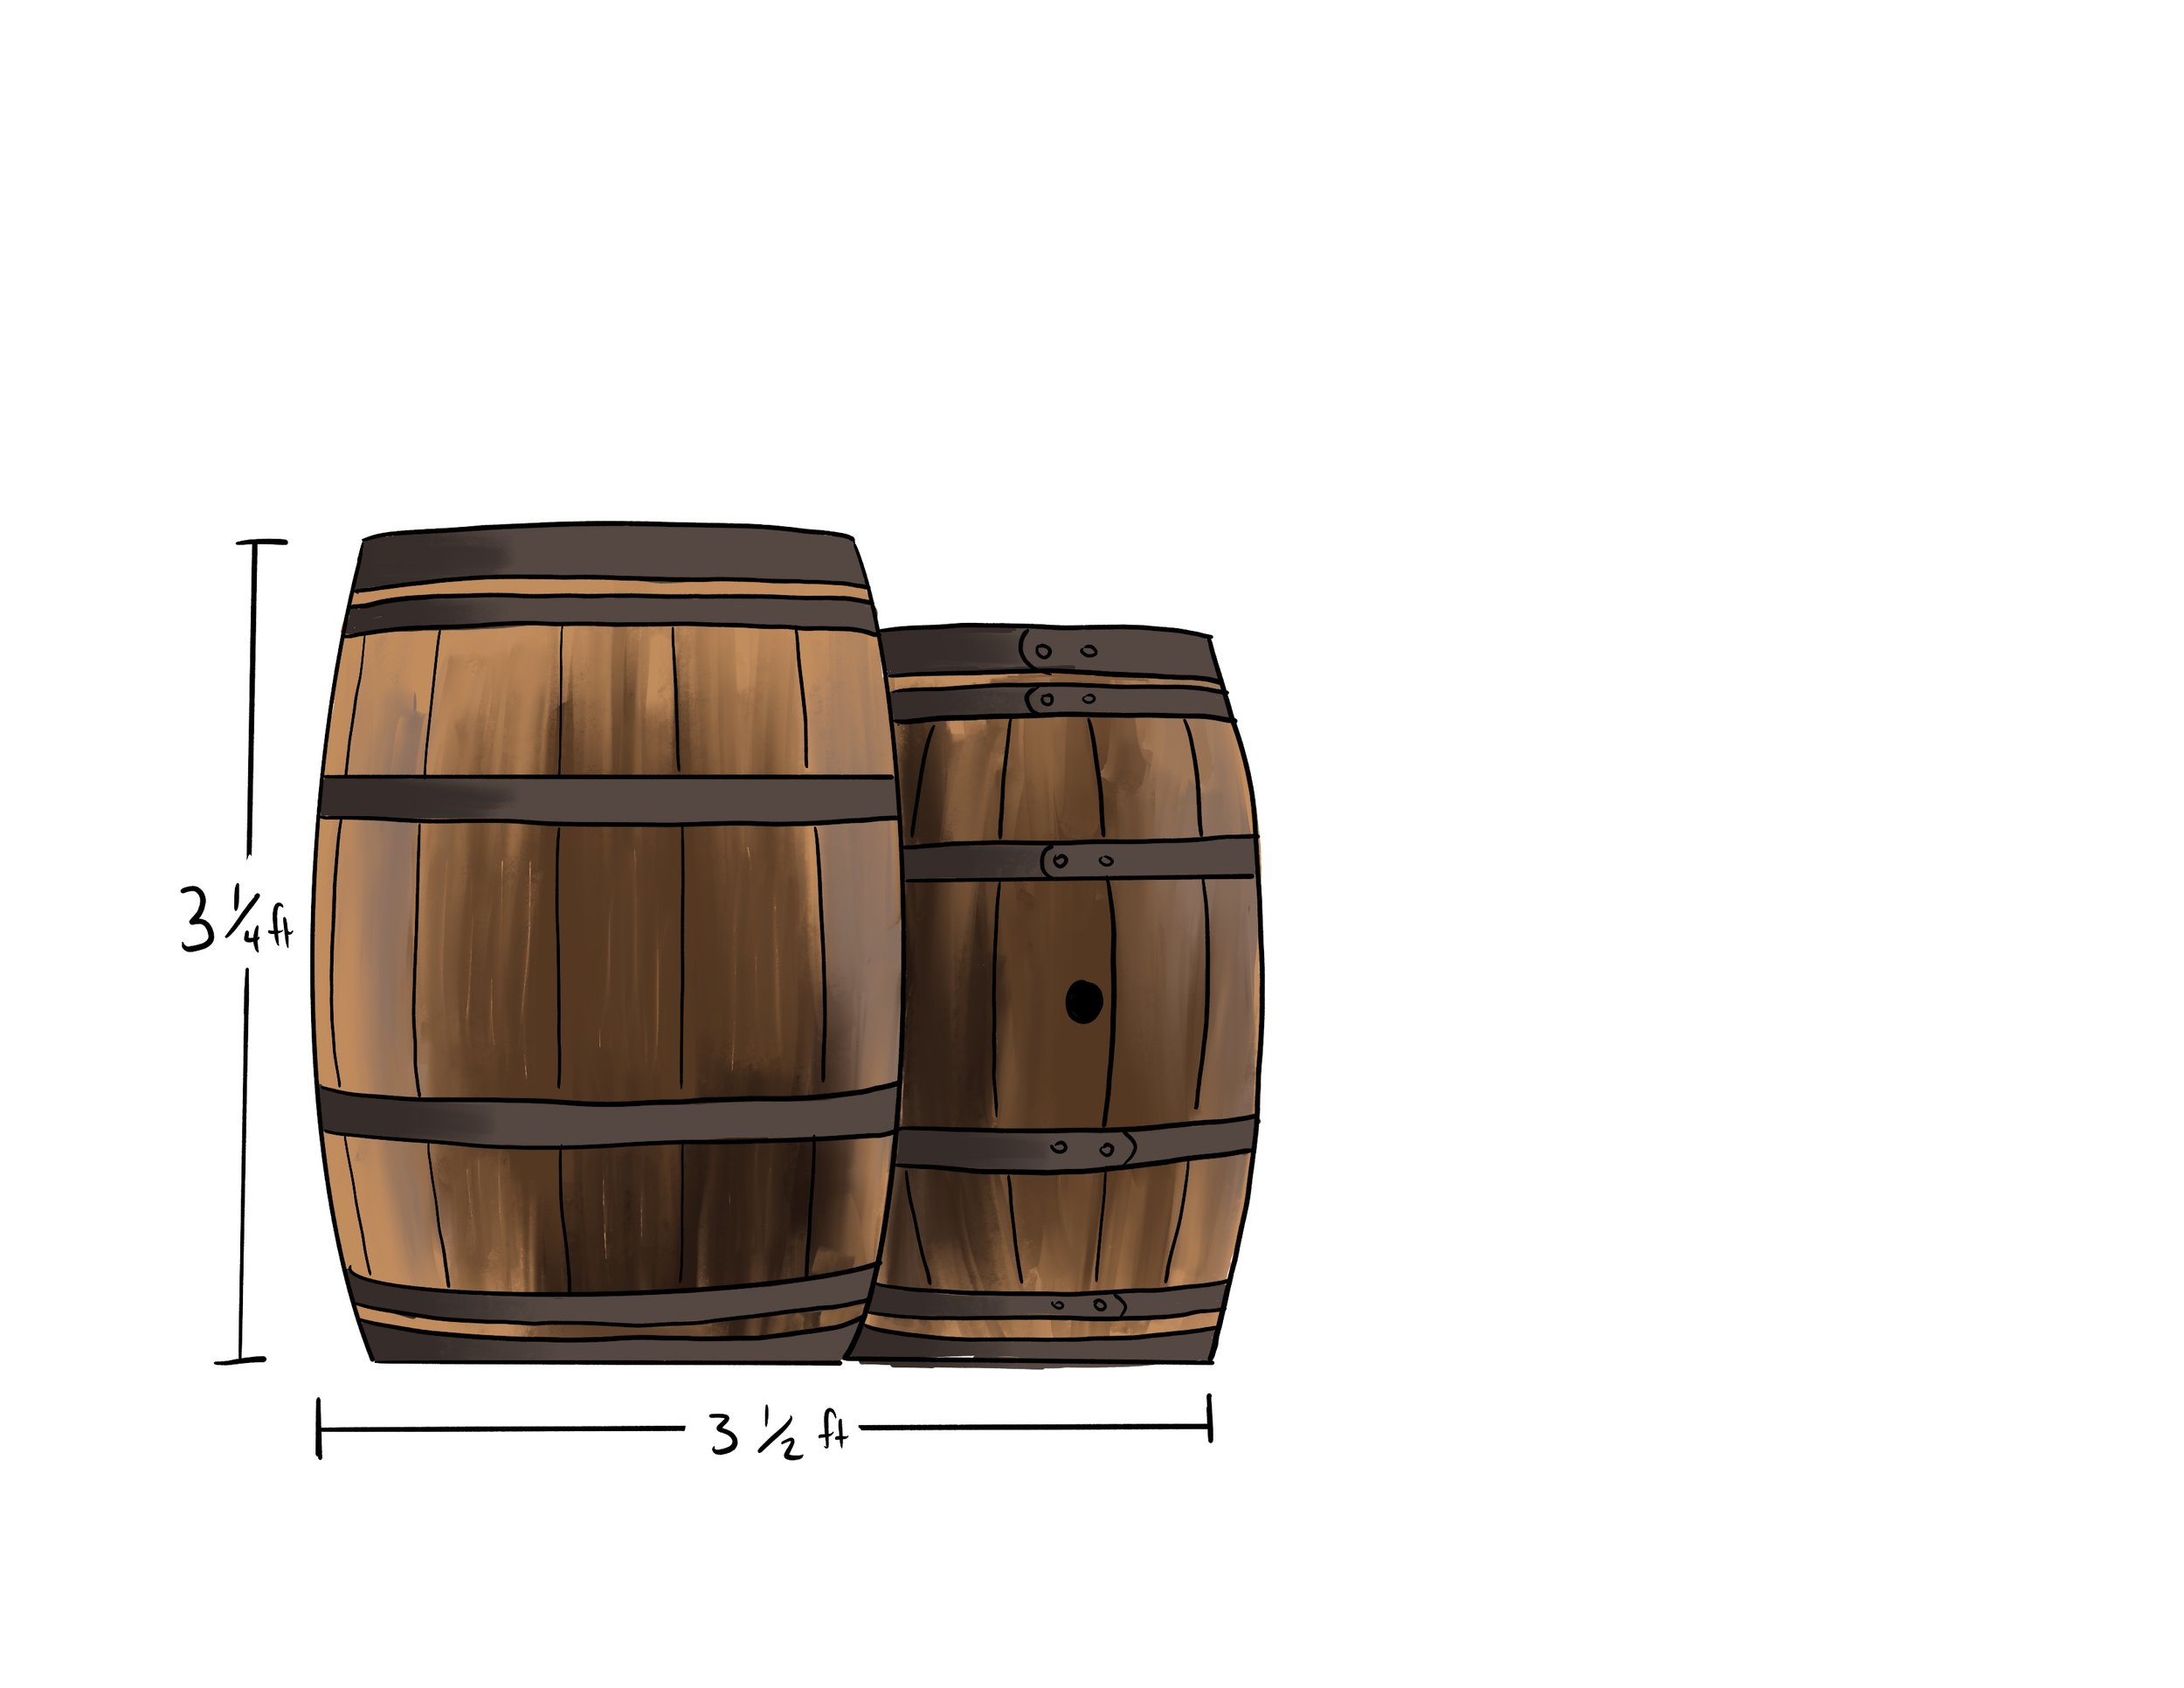

Trace, paint, outline, repeat…
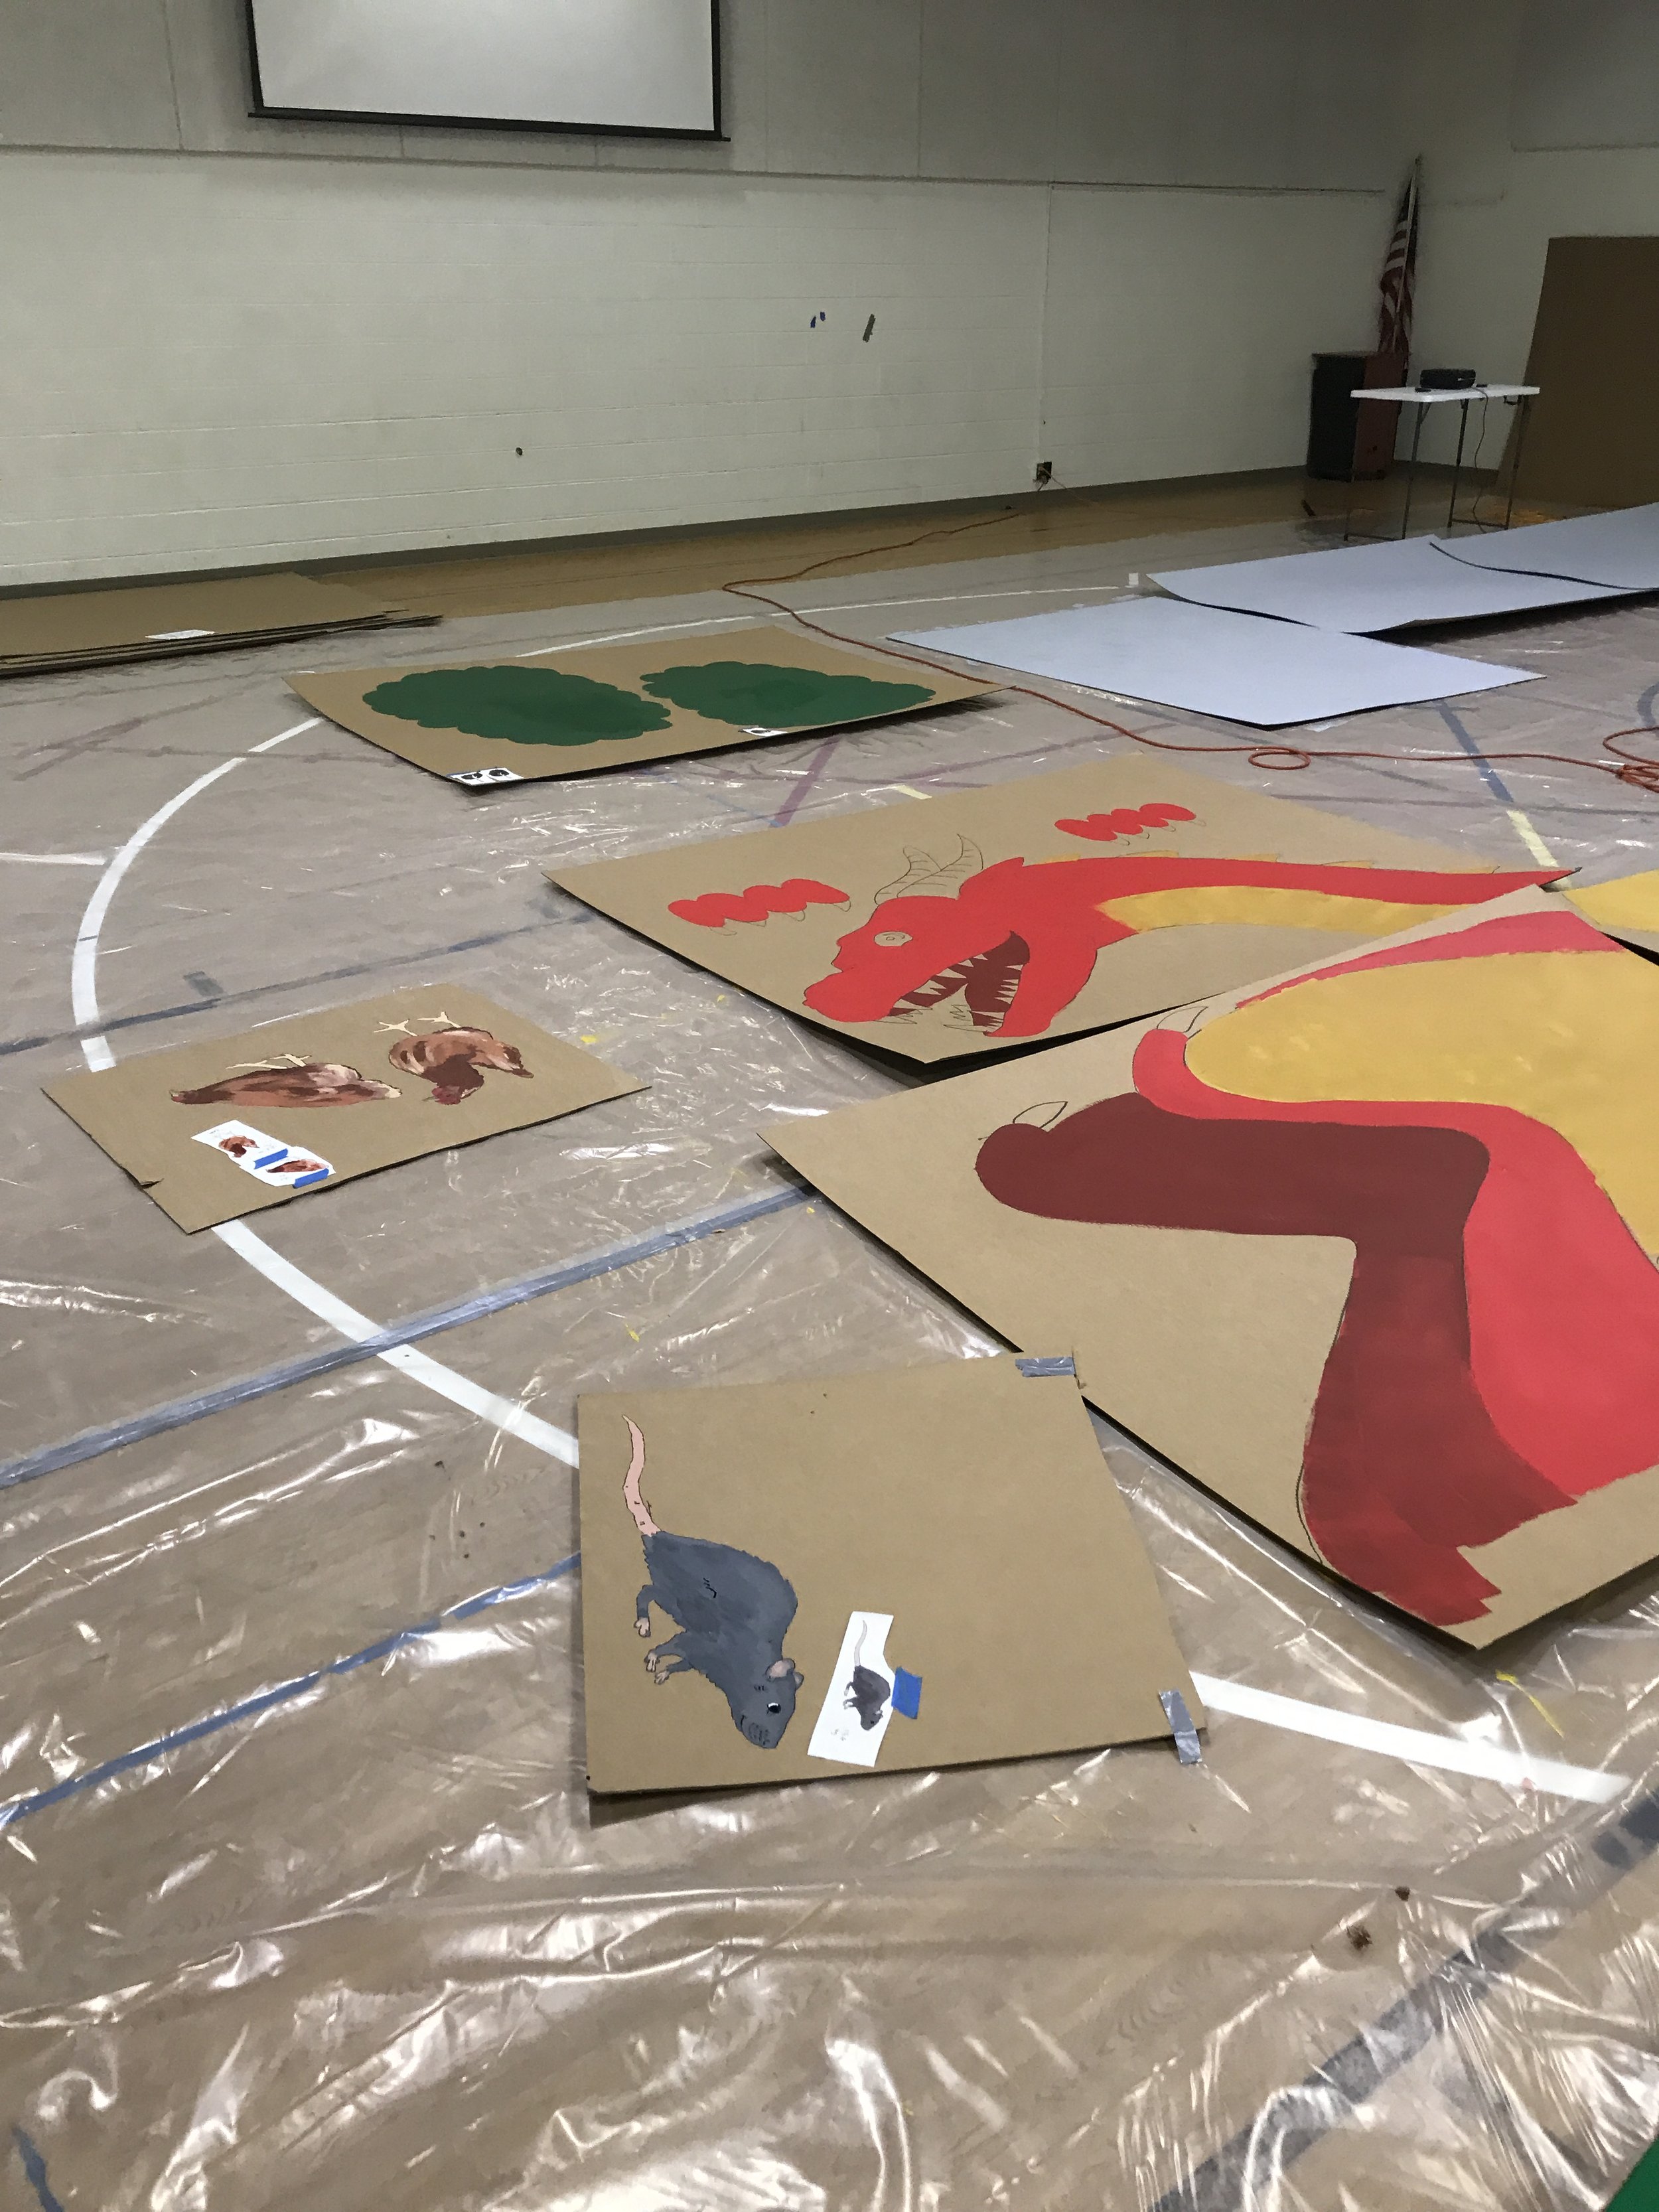
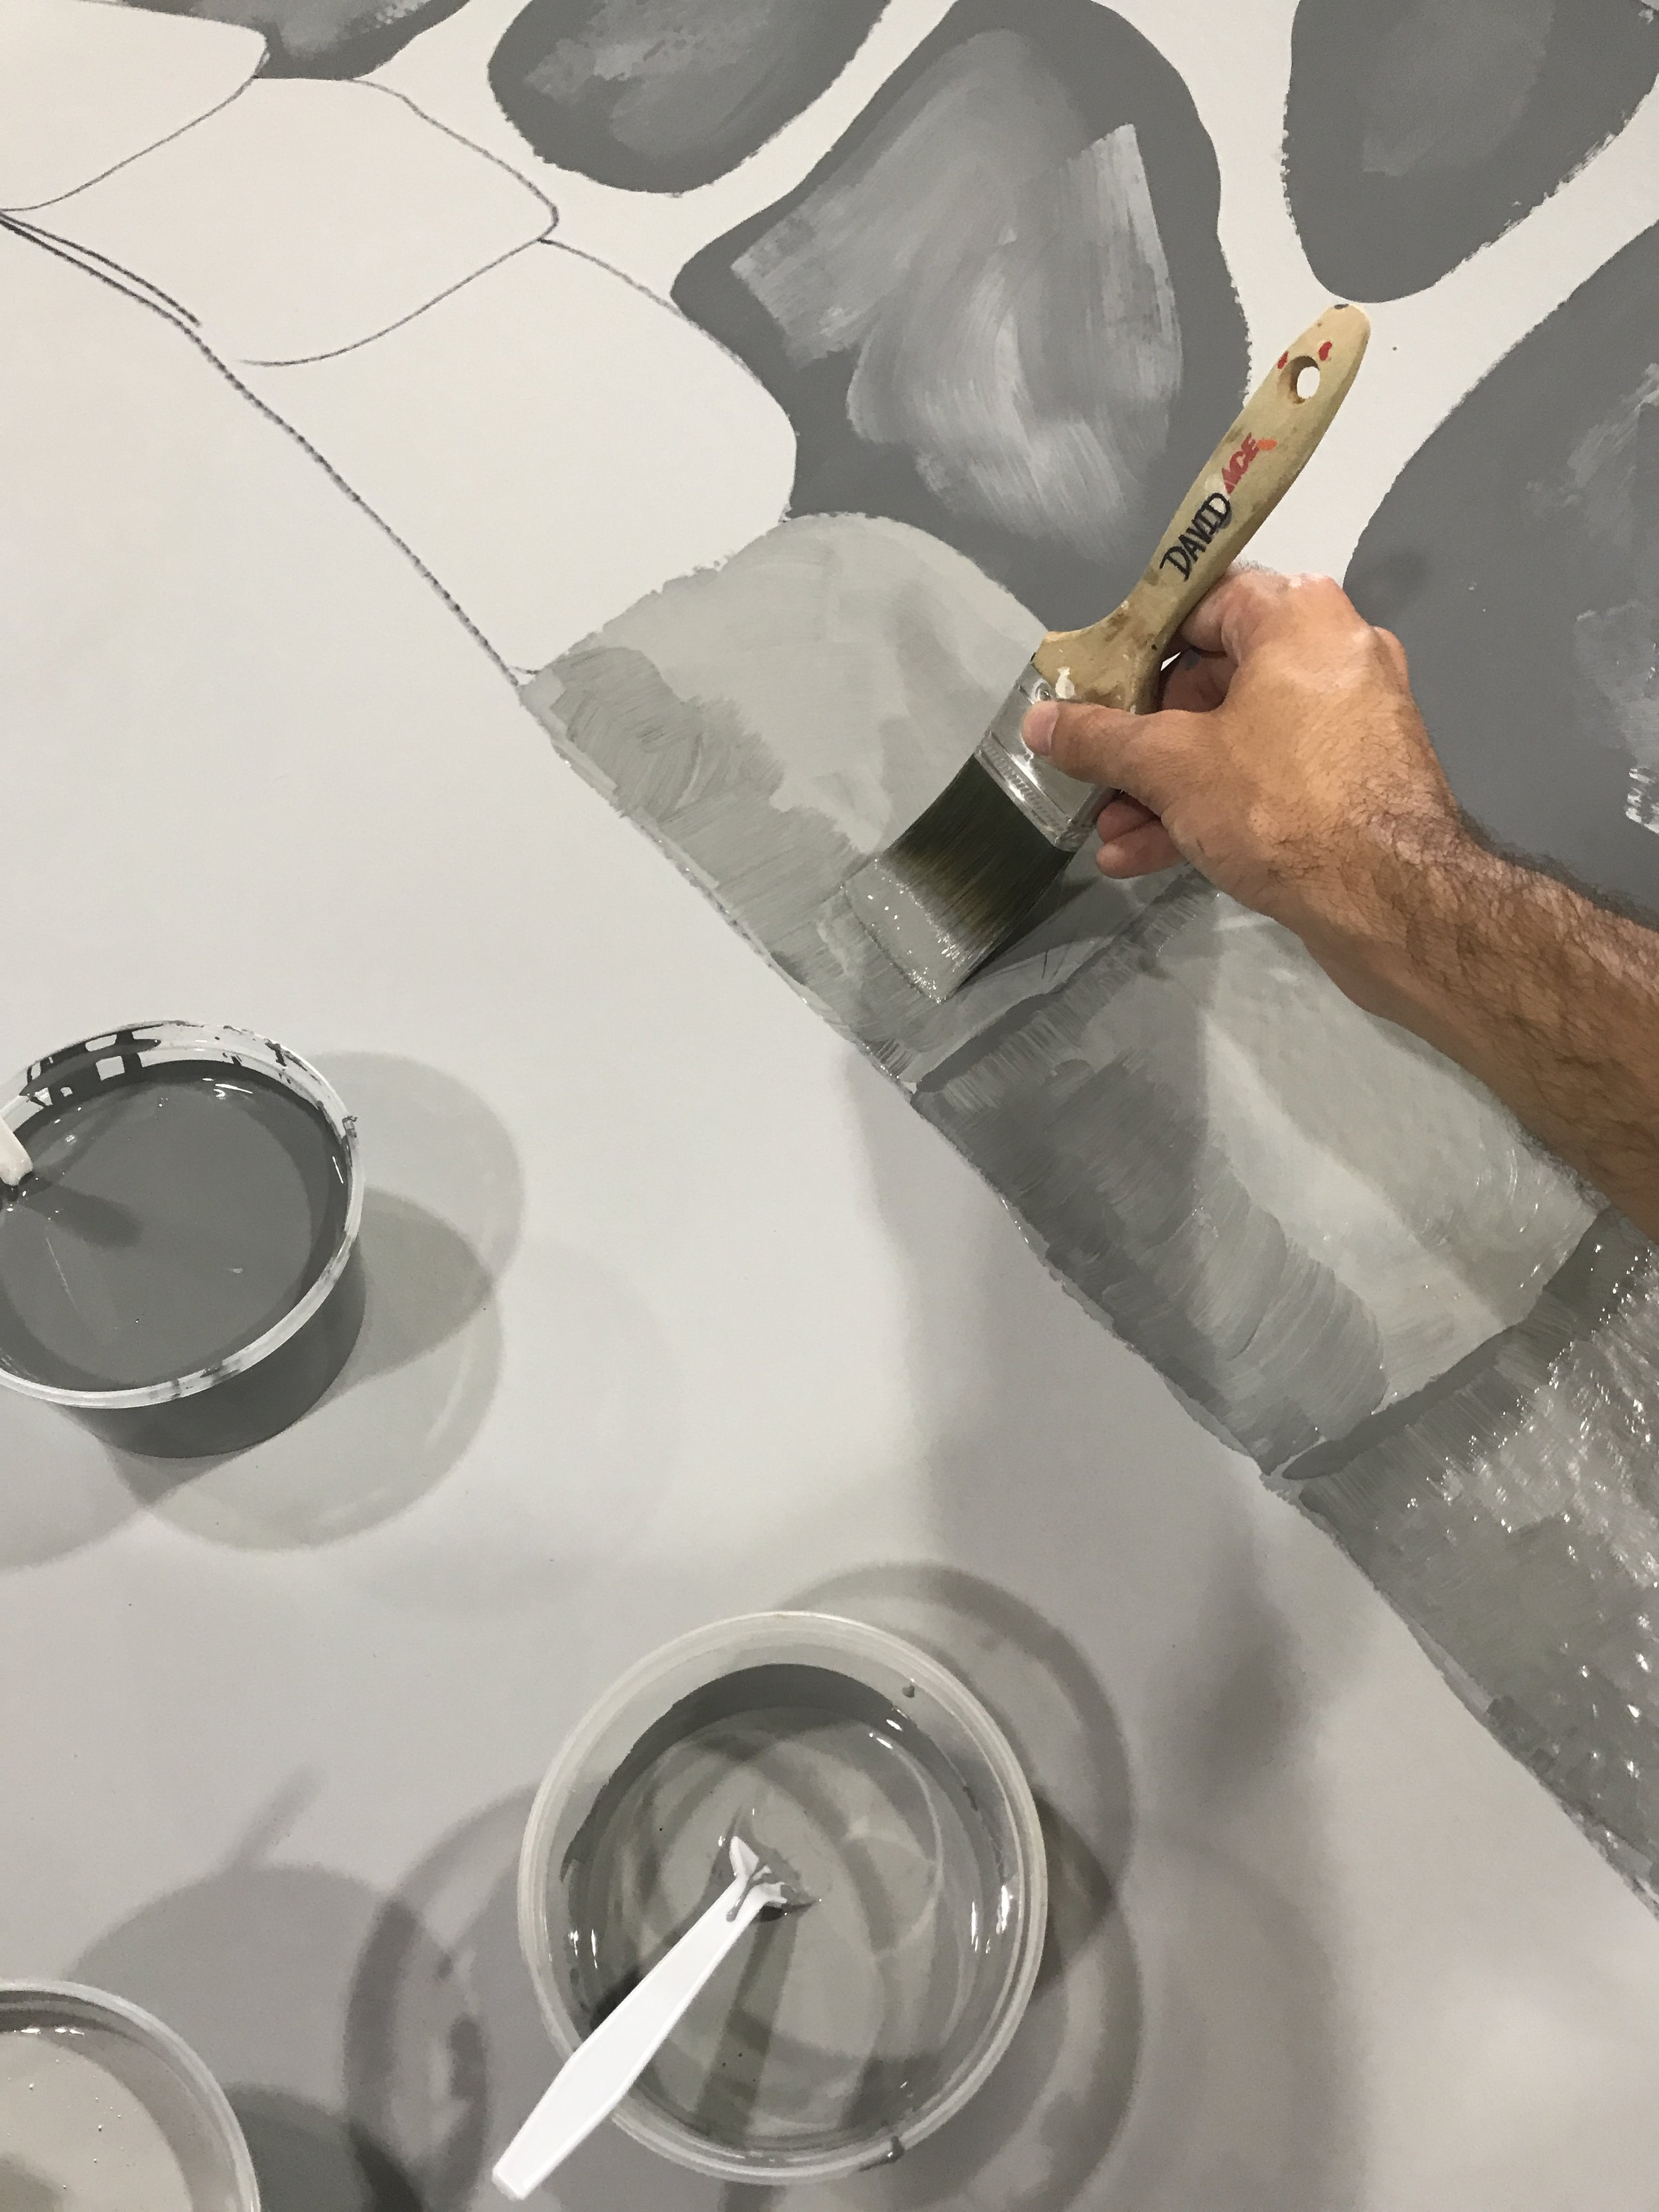
The next part of the process was to produce each set piece. This was the most time-intensive part of the process, but I had a team of people to help. The design team got to work by projecting each image and tracing it onto 6x8 feet sheets of cardboard. The team then painted and outlined each piece according to the reference images.
Now put it all together!
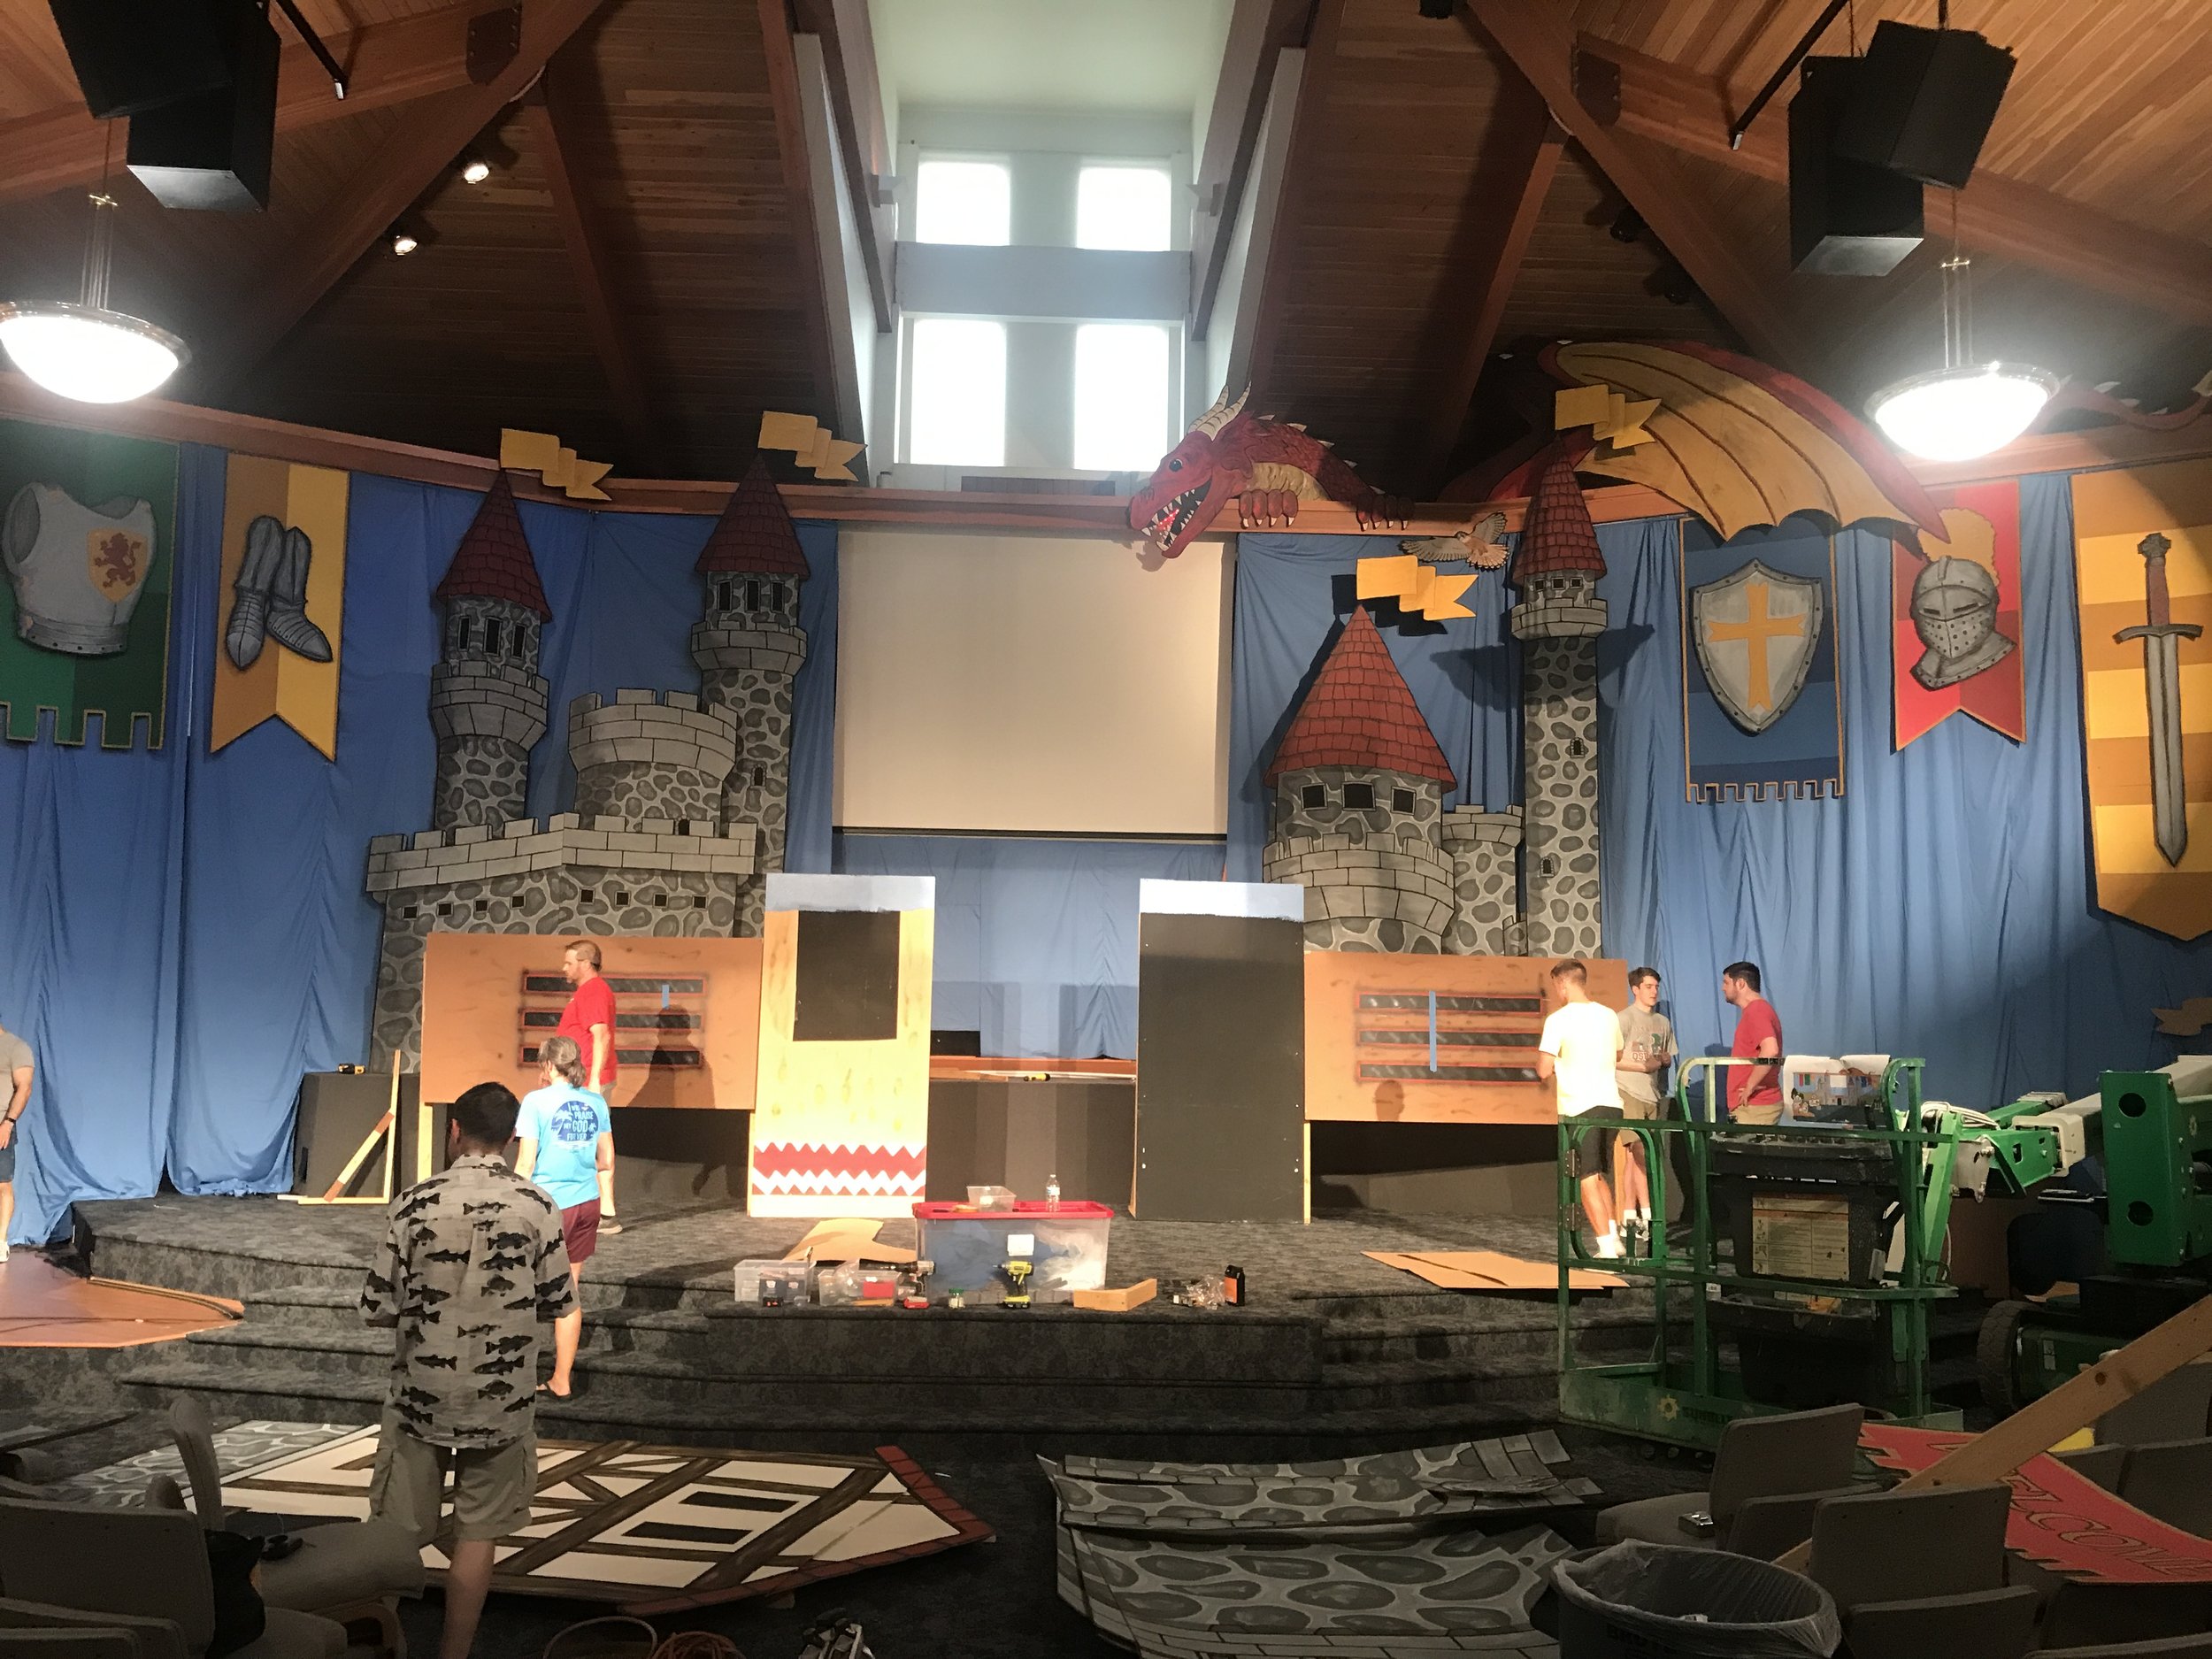
Next was the construction phase. We had an additional team to help with building the supports and attaching the cardboard. We build the set from front to back, making sure pieces in the back of the set were positioned properly before working our way to the front.
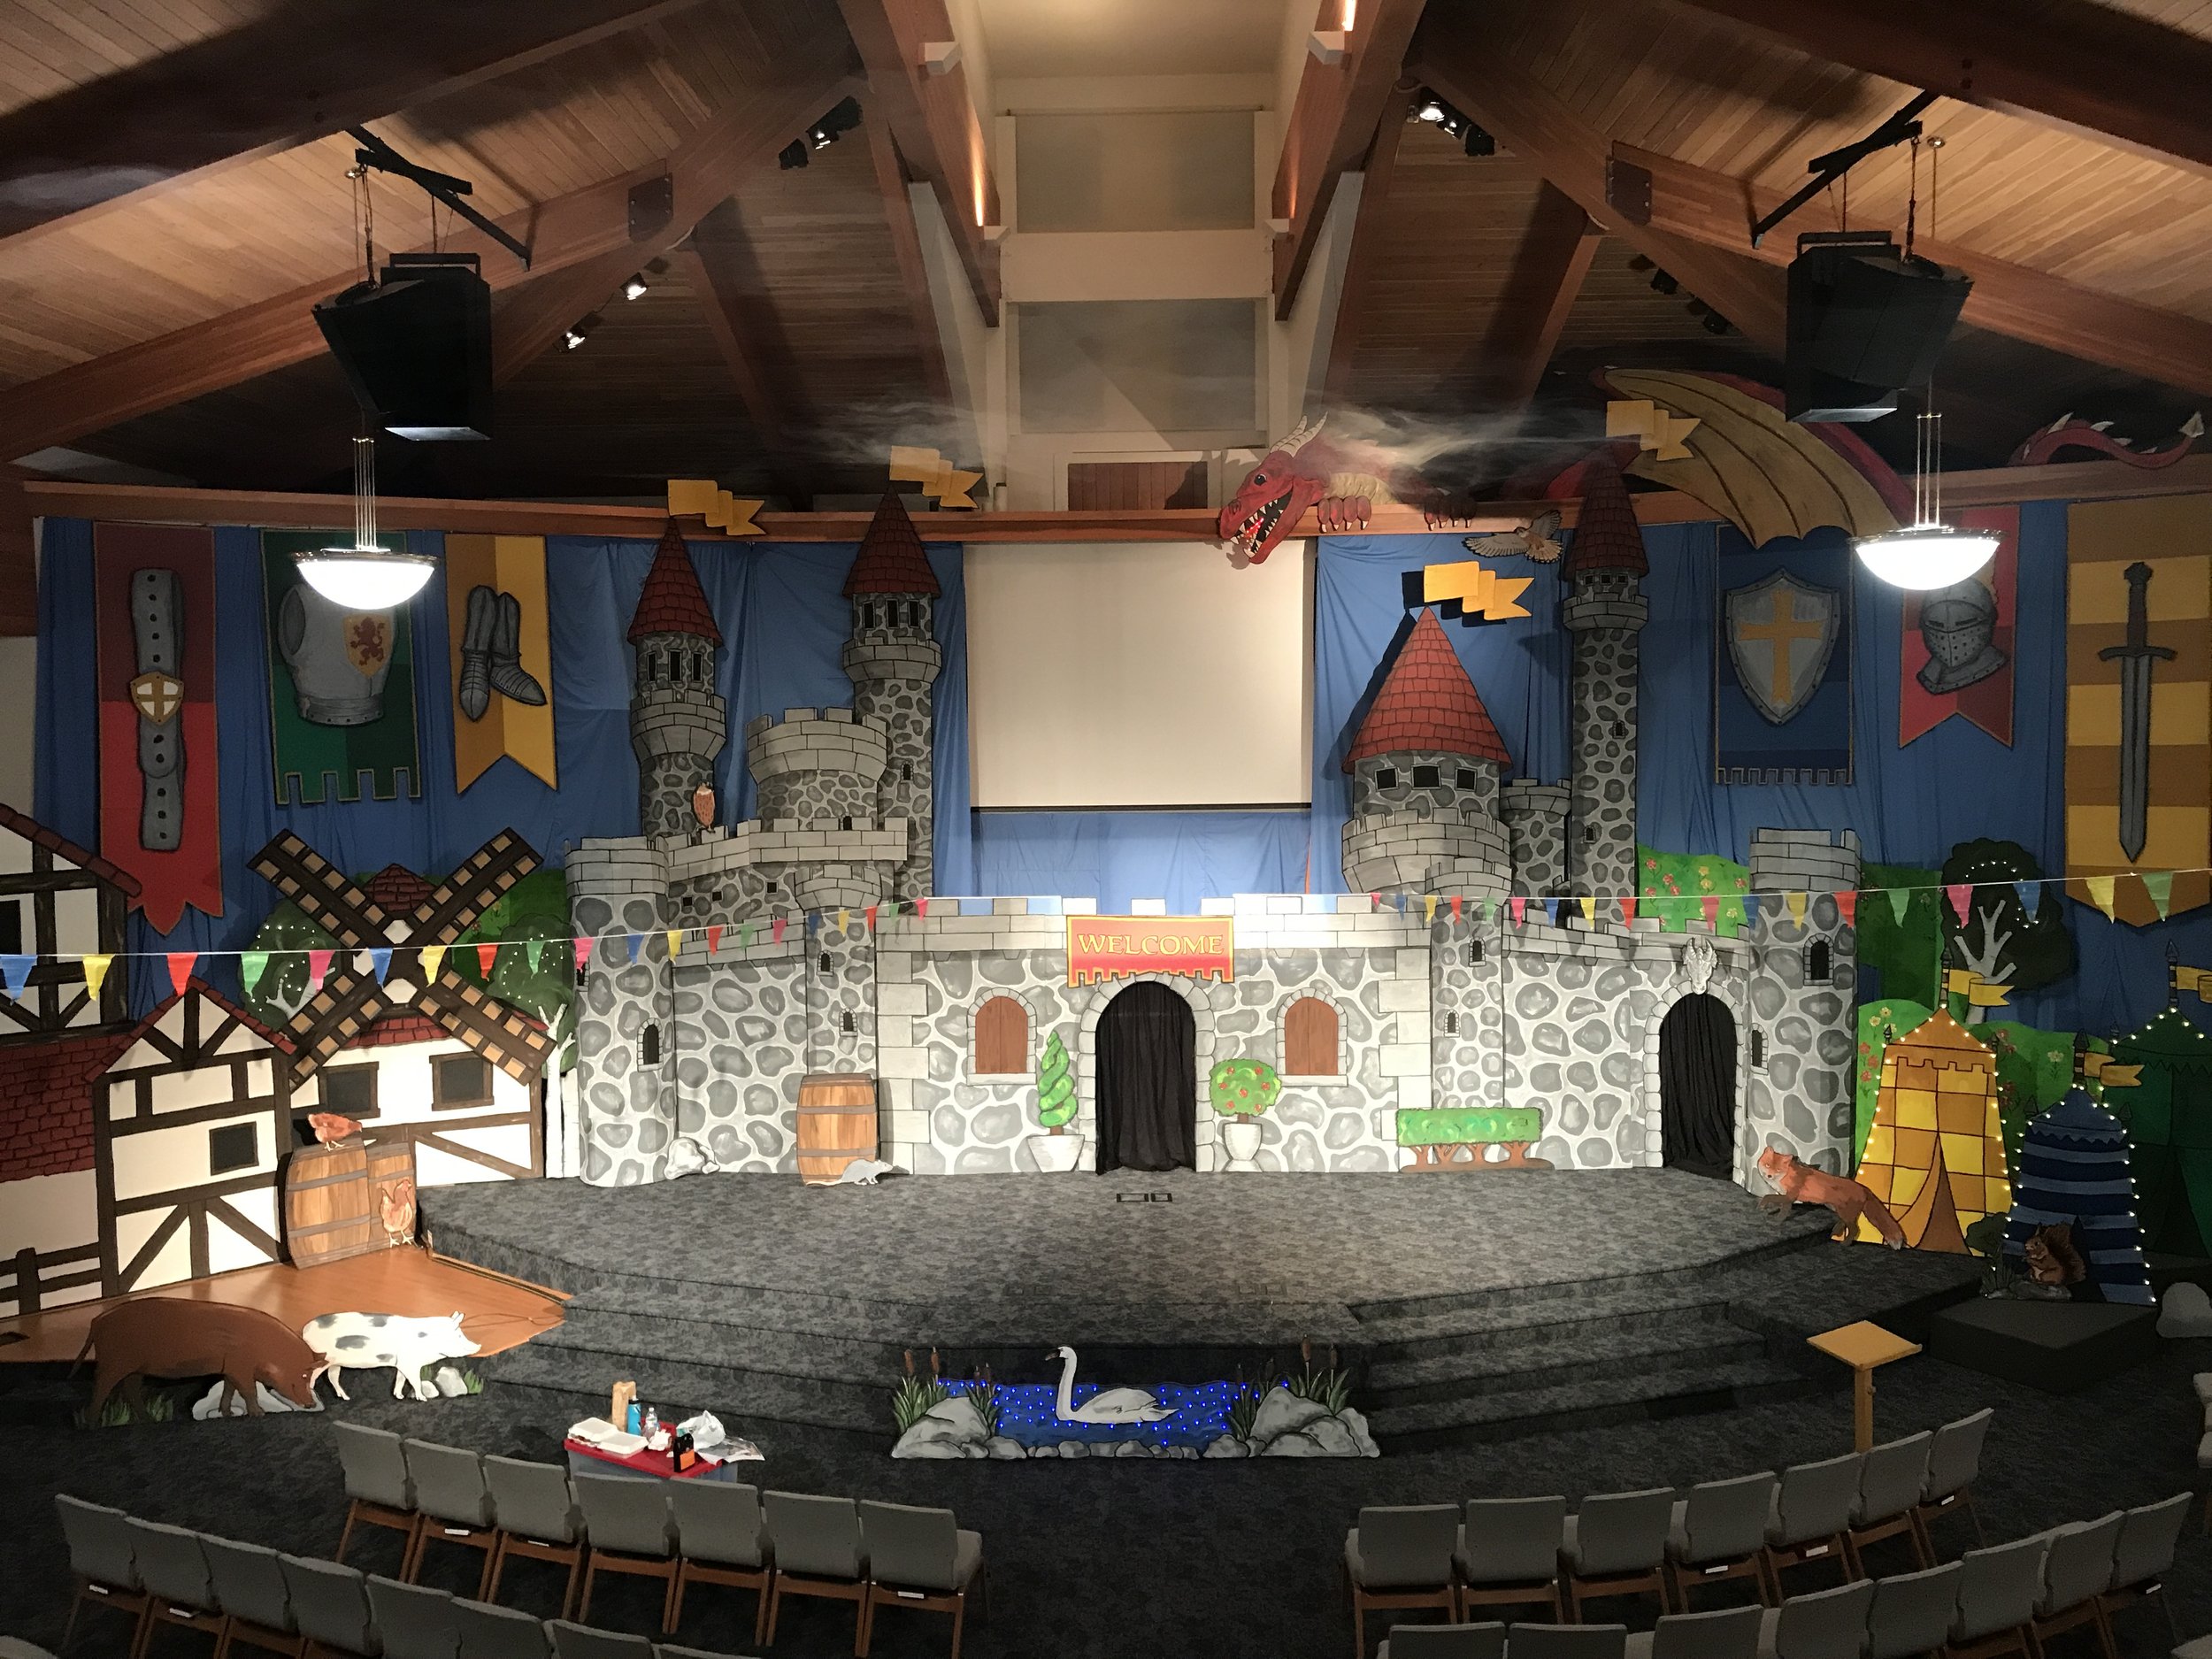
The final result…
Below is a short panoramic view of the set:


